Configuring Opsgenie
Published on September 2nd, 2021Introduction
This page describes how to set up the Opsgenie plugin.
At a Glance
| Prerequisites | |
| Considerations | |
| Supported Environments | ☐ Private Network via Broker ☐ Internet Accessible via IP Whitelist ☒ Cloud Hosted |
Steps
Step 1: Create an API token
In order for the Backstage integration to work we must first generate our api key.
In order to create a key create an Integration of type API and copy the key displayed.
Step 2: Store the credentials in Roadie
Visit https://<tenant-name>.roadie.so/administration/opsgenie and enter the key into the OPSGENIE_API_KEY secret.
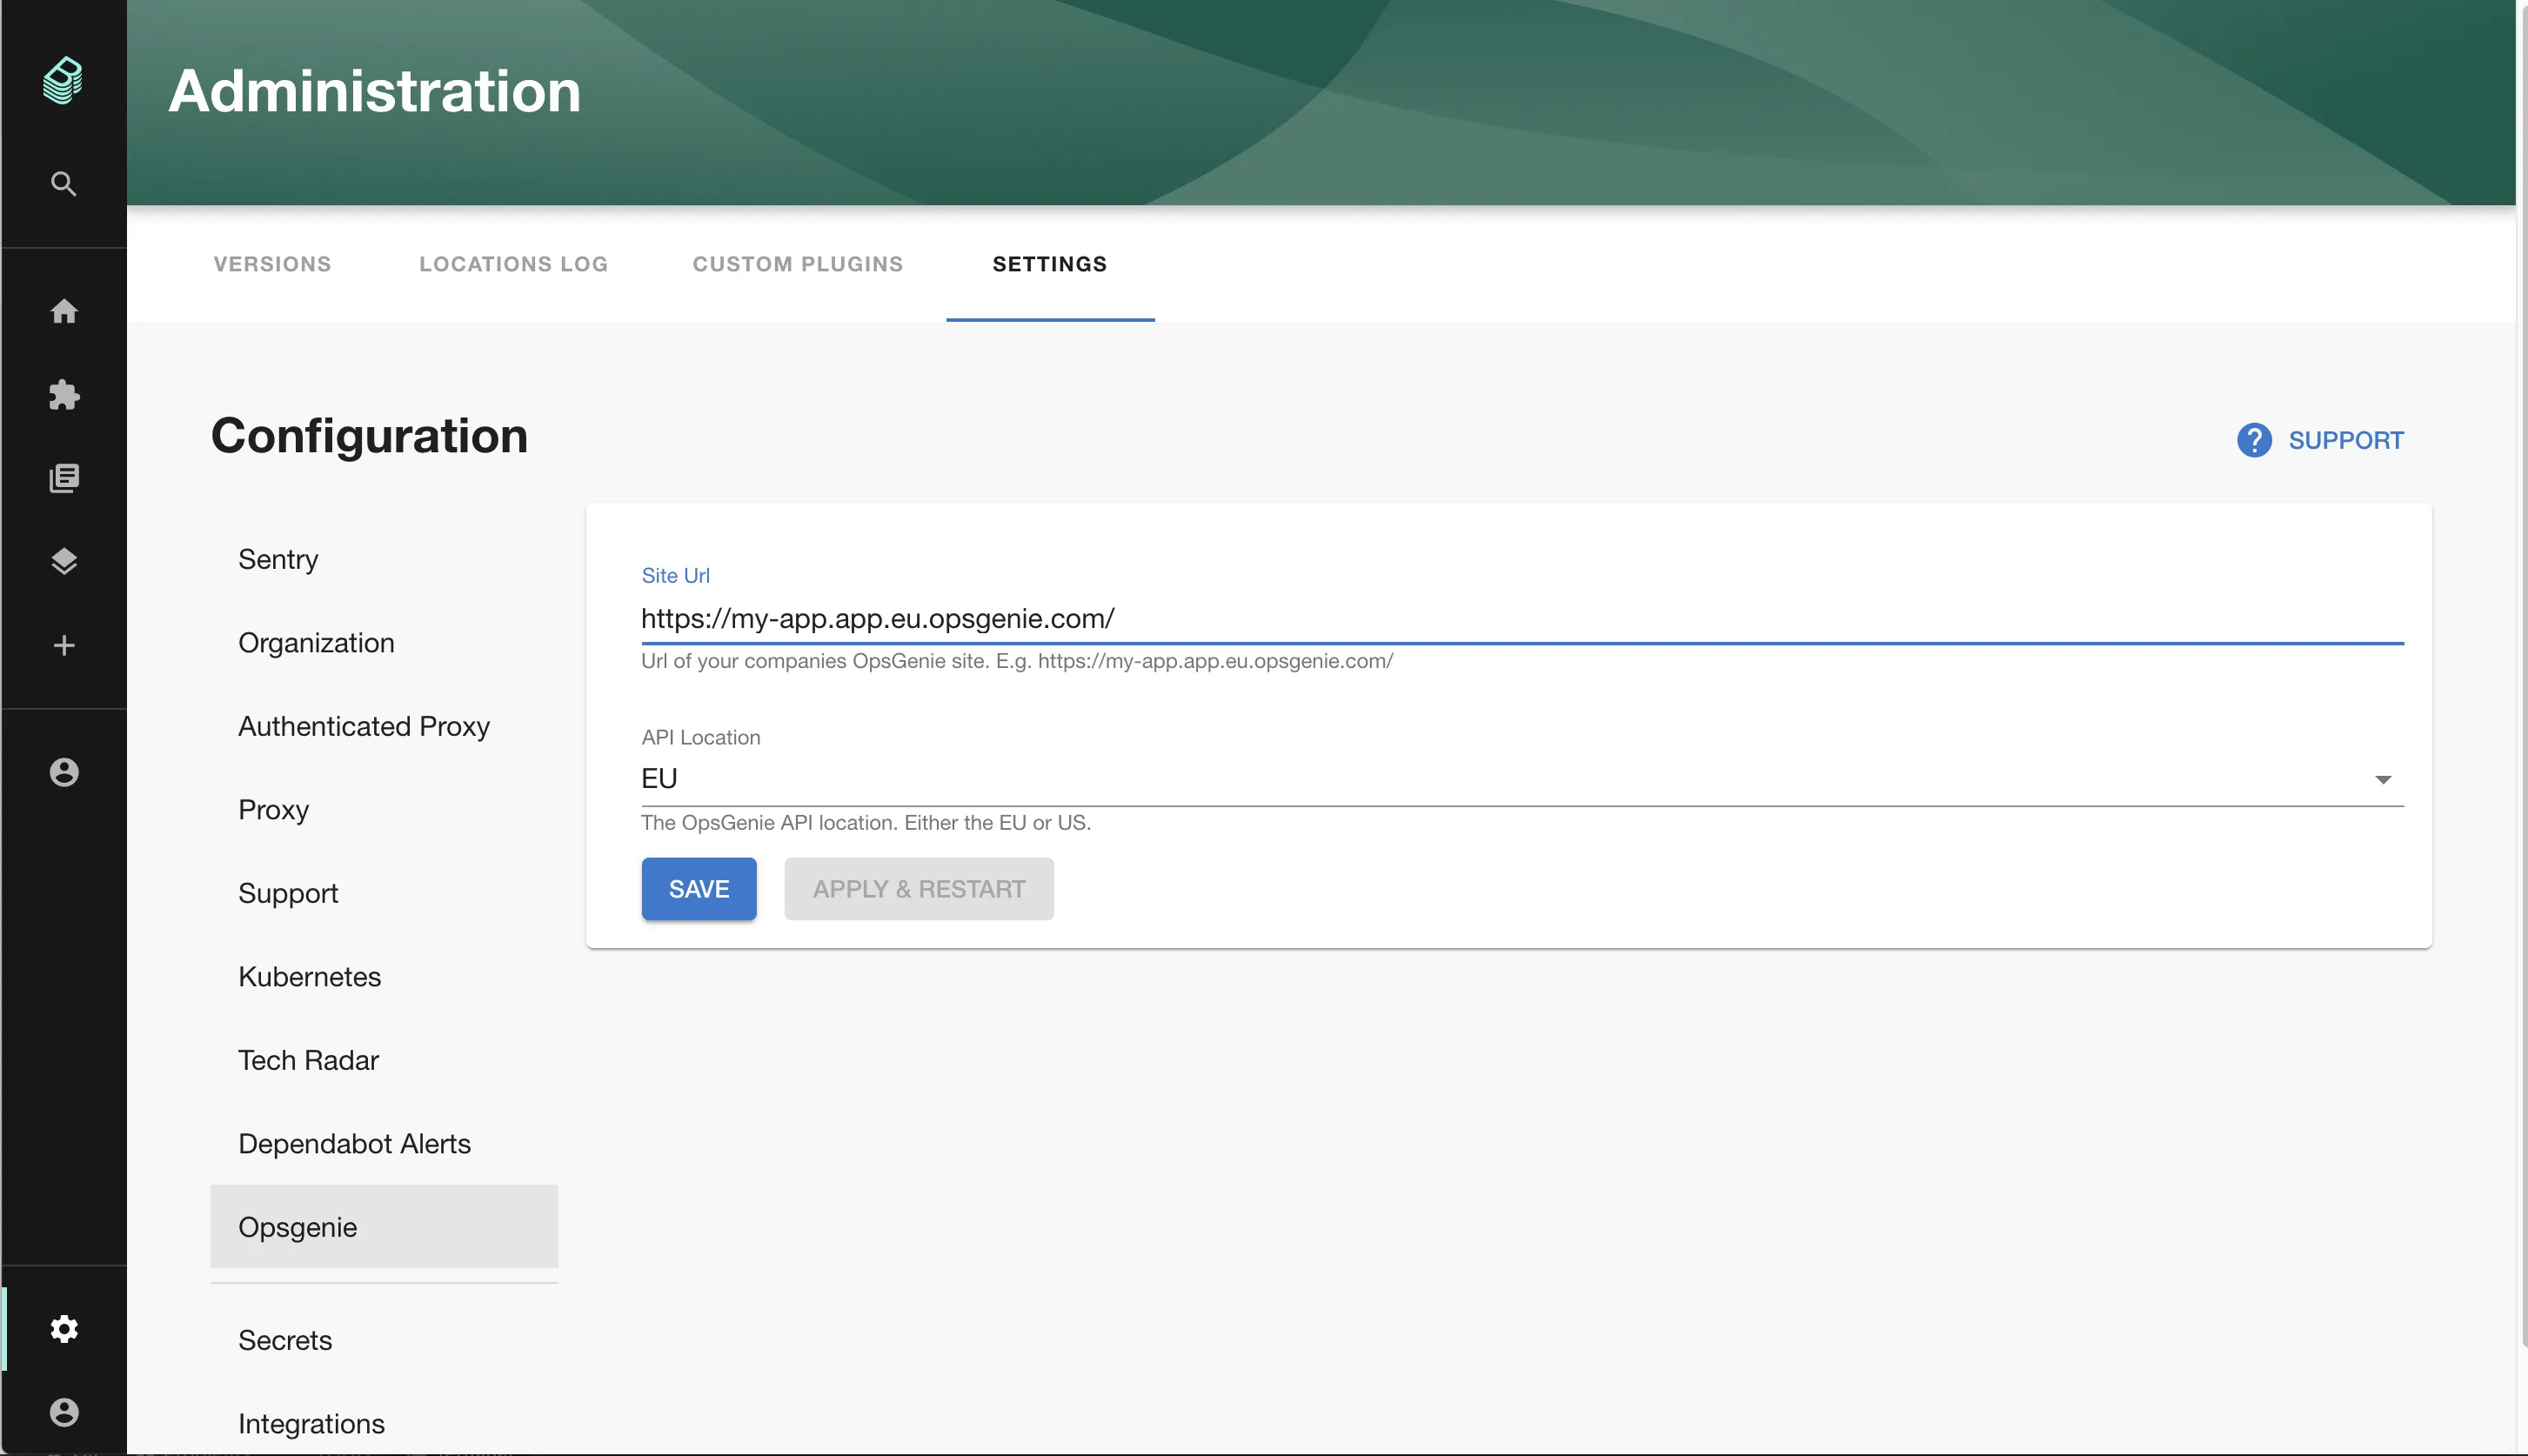
Step 3: Configure Roadie with your Opsgenie account details
In the Opsgenie settings page enter the following:
- The domain of your Opsgenie app (e.g.
https://my-app.app.eu.opsgenie.com/) - The API endpoint you use (e.g. US / EU )
Step 4: Add the Opsgenie UI elements
The Opsgenie plugin provides two type of UI elements.
The card EntityOpsgenieAlertsCard displays alerts for particular components and can be added to component dashboards.
The overview page OpsgeniePage can be also be added to the sidebar.
You can override the default page size of 6 for the On-Call list by adding props to the sidebar component when adding it of:
json
{
  "onCallListCardsCount": 48
}