Pulumi Plugin
Published on January 24th, 2024Introduction
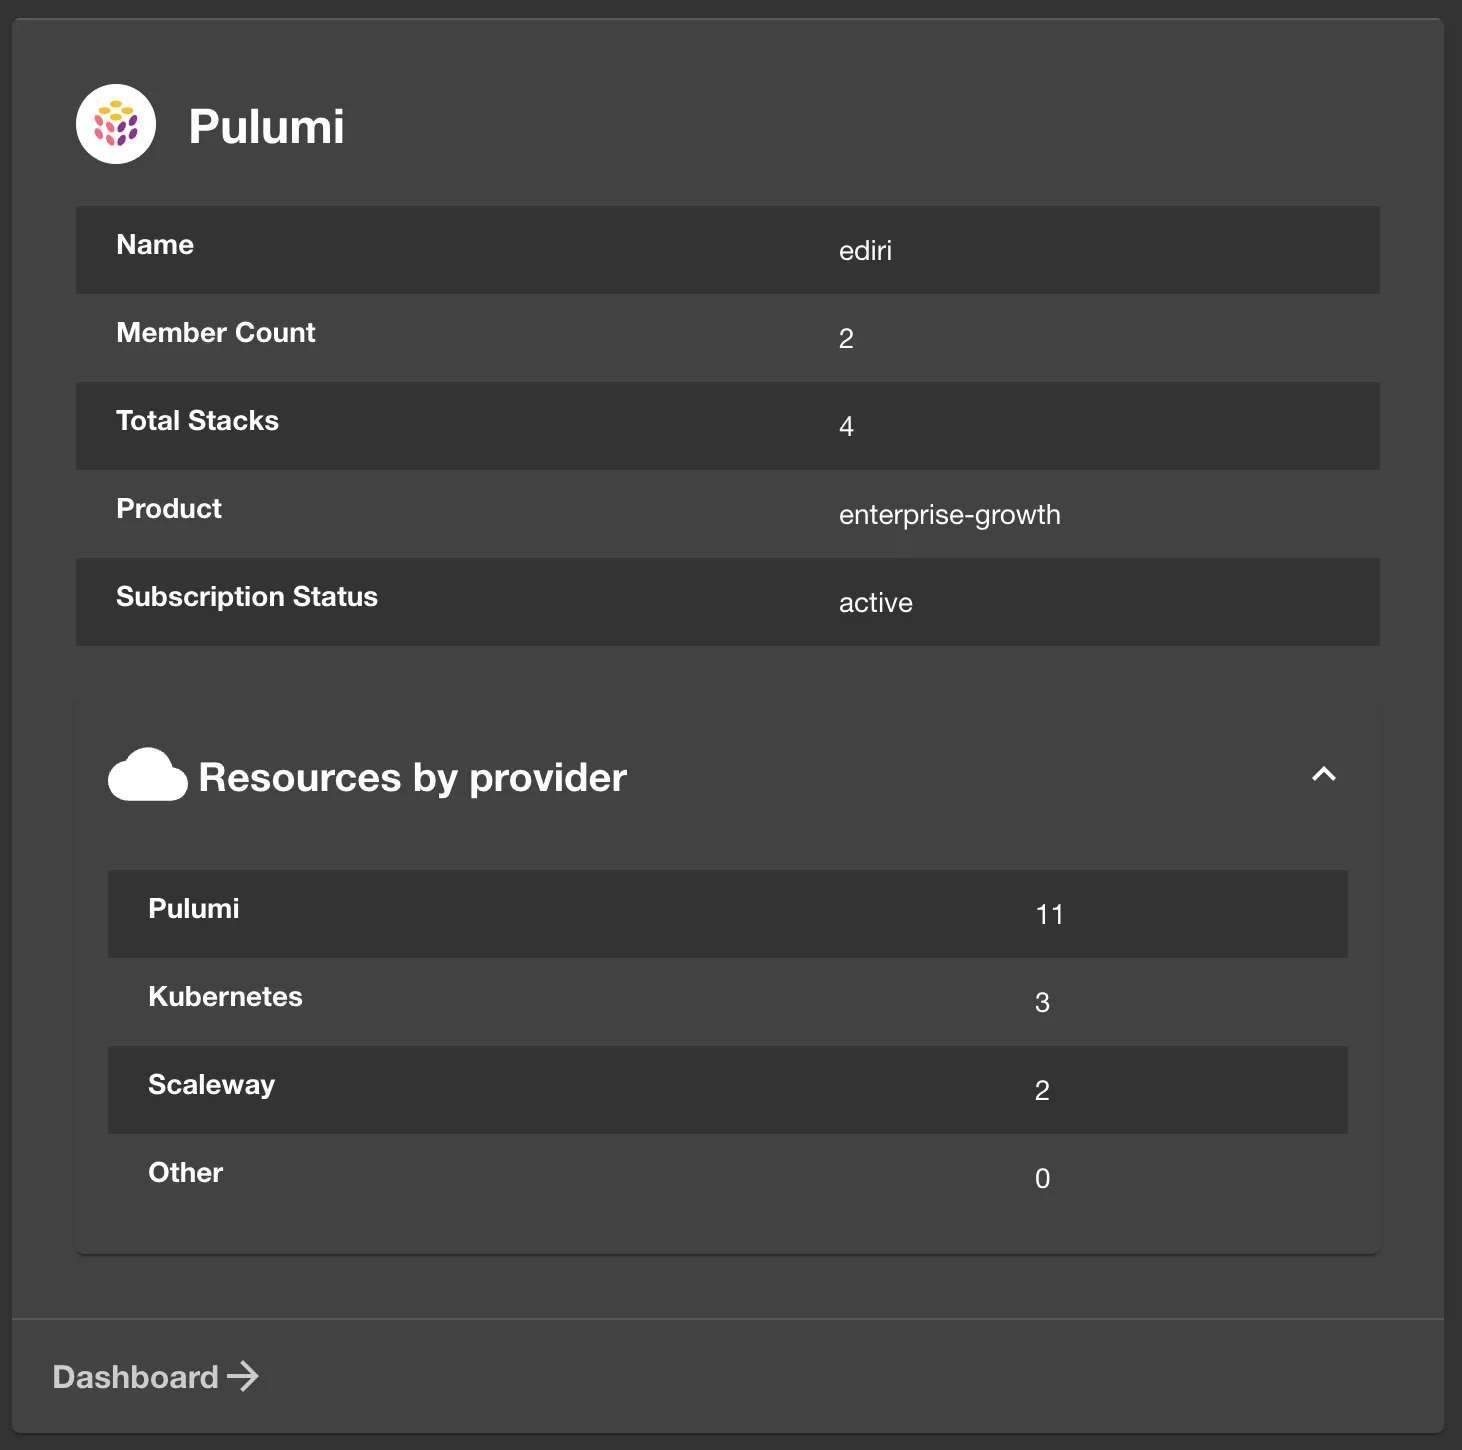
The Backstage Pulumi plugin integrates with Pulumi to display relevant entity information within Backstage.
At a Glance
| Prerequisites | Configuration Data:
|
| Considerations | |
| Supported Environments | ☐ Private Network via Broker ☐ Internet Accessible via IP Whitelist ☒ Cloud Hosted |
Adding the plugin
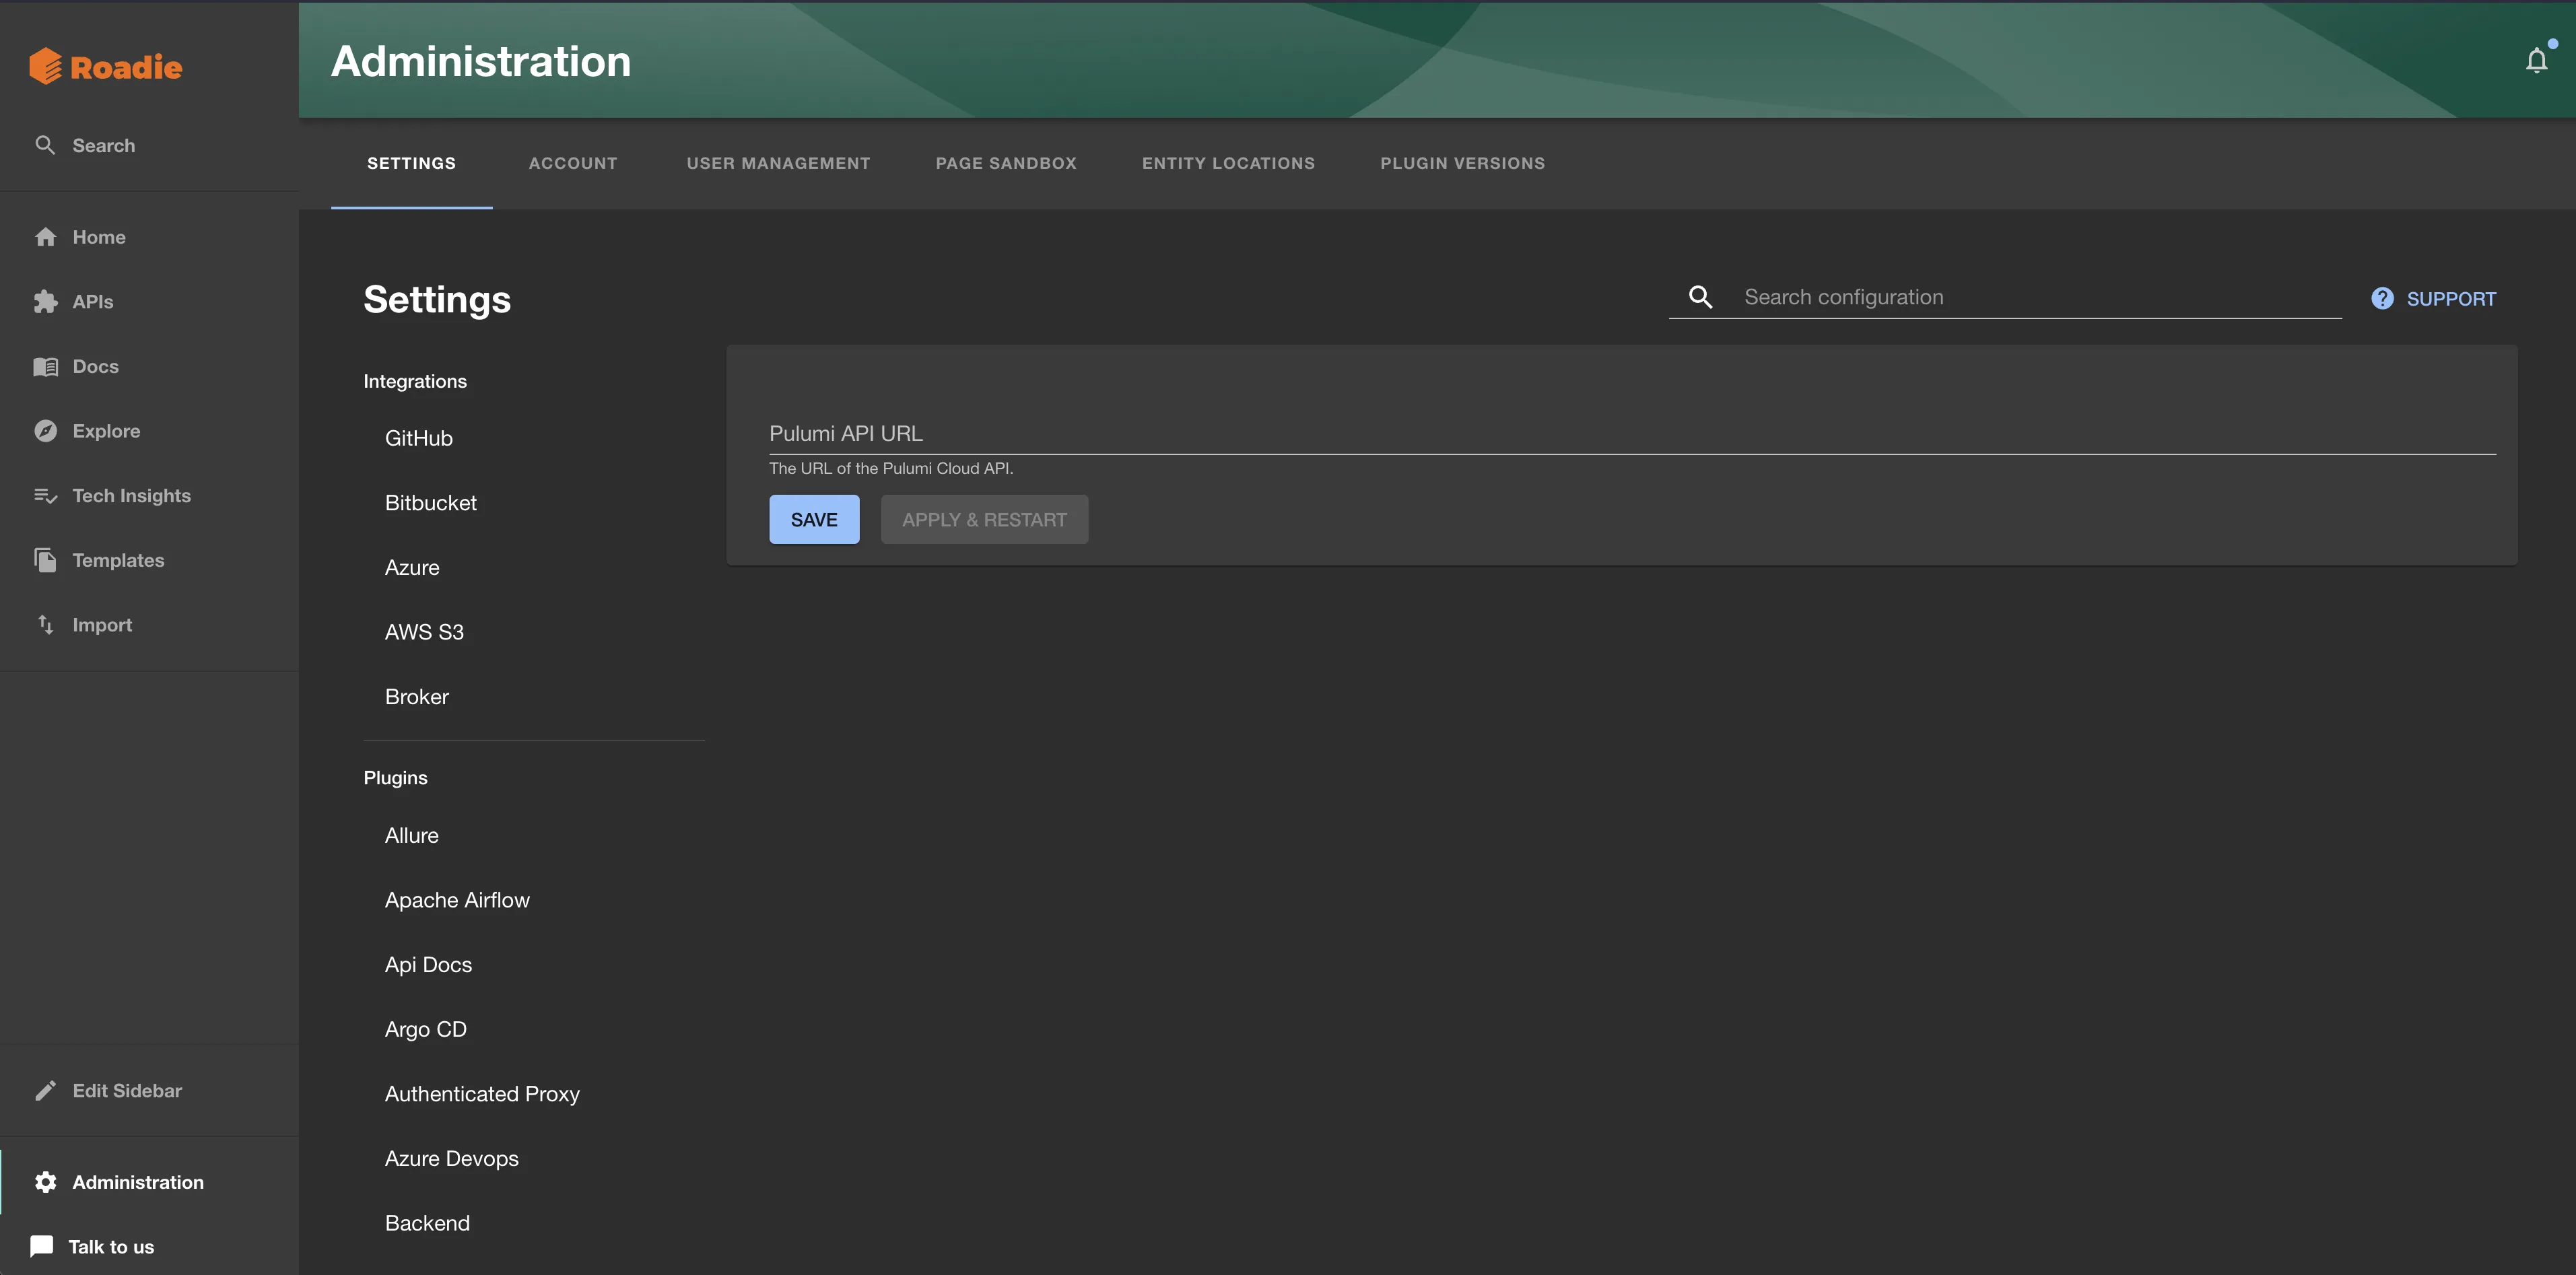
Configure the Pulumi Cloud API URL
Configure the pulumi API URL to use via Administration -> Settings -> Pulumi. If you're not using a custom API URL, it should be the same e.g. https://api.pulumi.com/api, which is already configured by default. If you're self-hosting
Pulumi Cloud yourself you'll need to specify a API URL to that instance.
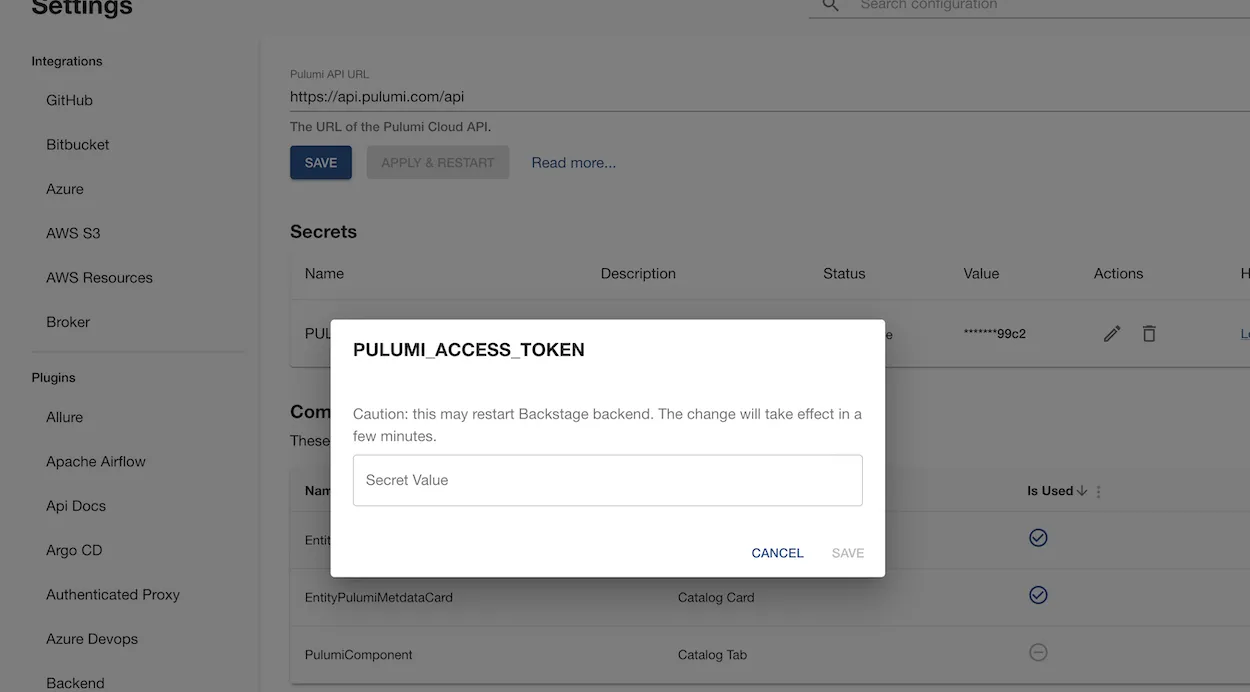
Add the Pulumi secret
First, add the PULUMI_ACCESS_TOKEN secret via Administration -> Settings -> Plugins -> Pulumi. Note you'll
need to wait for the secret to be marked as "Available" before you can use the Pulumi plugin.
Add the plugin to the UI
The Pulumi plugin provides two components which can be added to the Roadie UI. You must be a Roadie admin to add components to the UI.
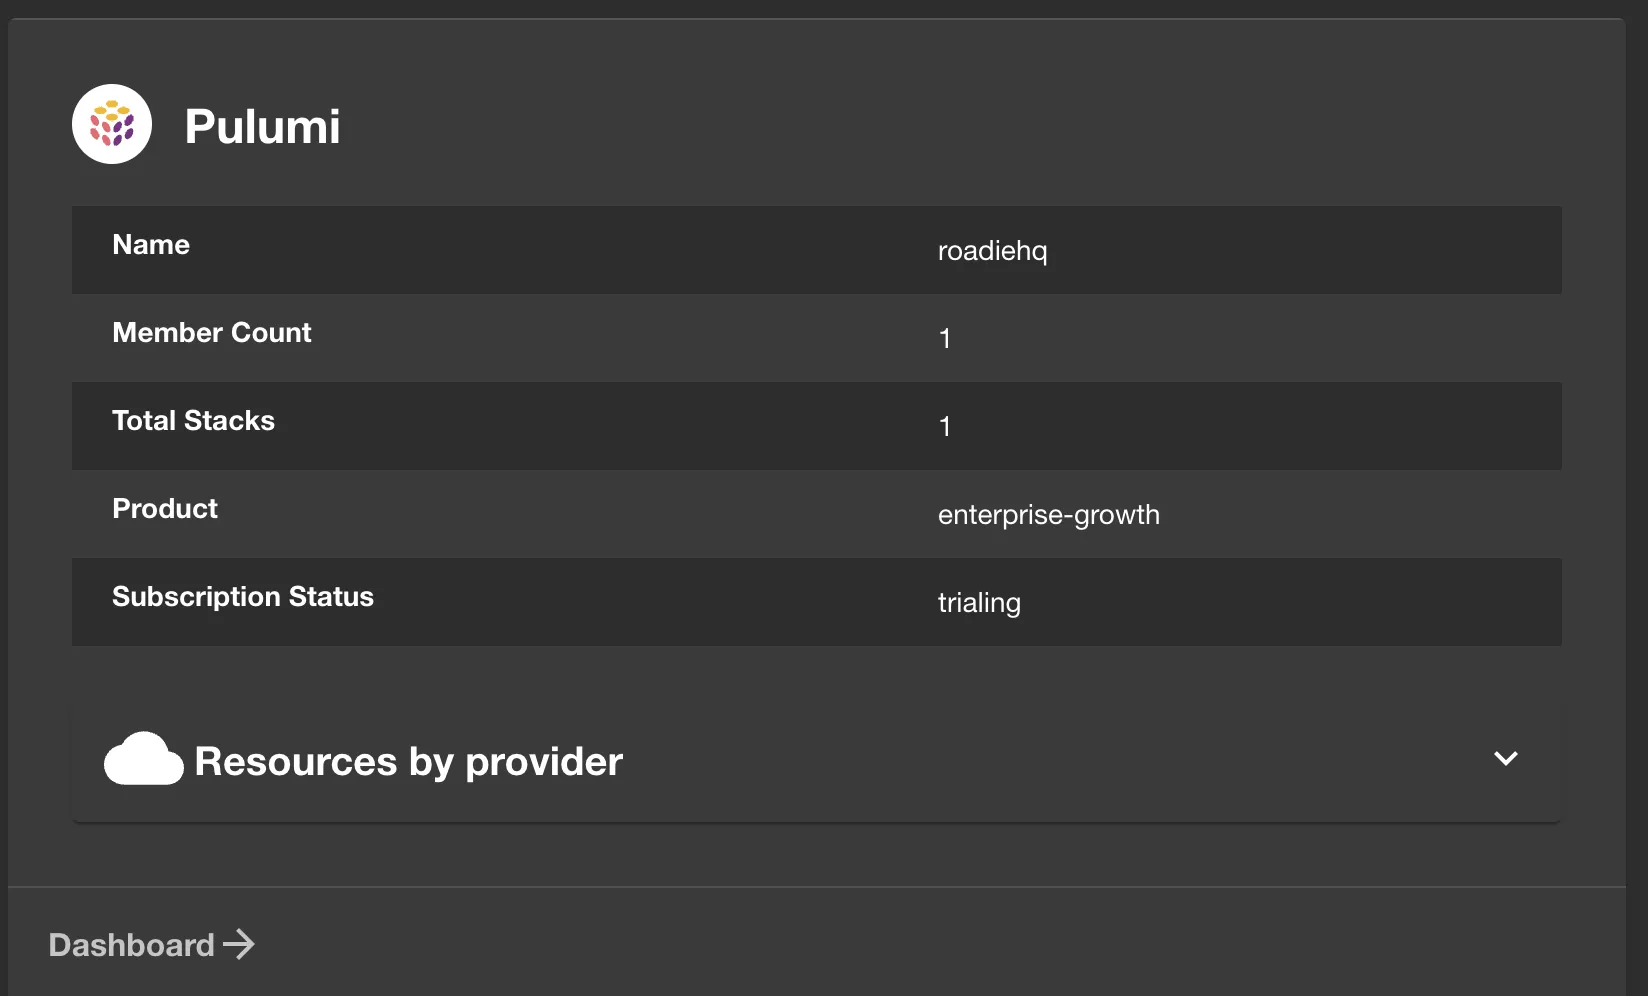
The EntityPulumiCard and EntityPulumiMetdataCard components can be added to catalog dashboards. These
list Pulumi entity information and metadata.
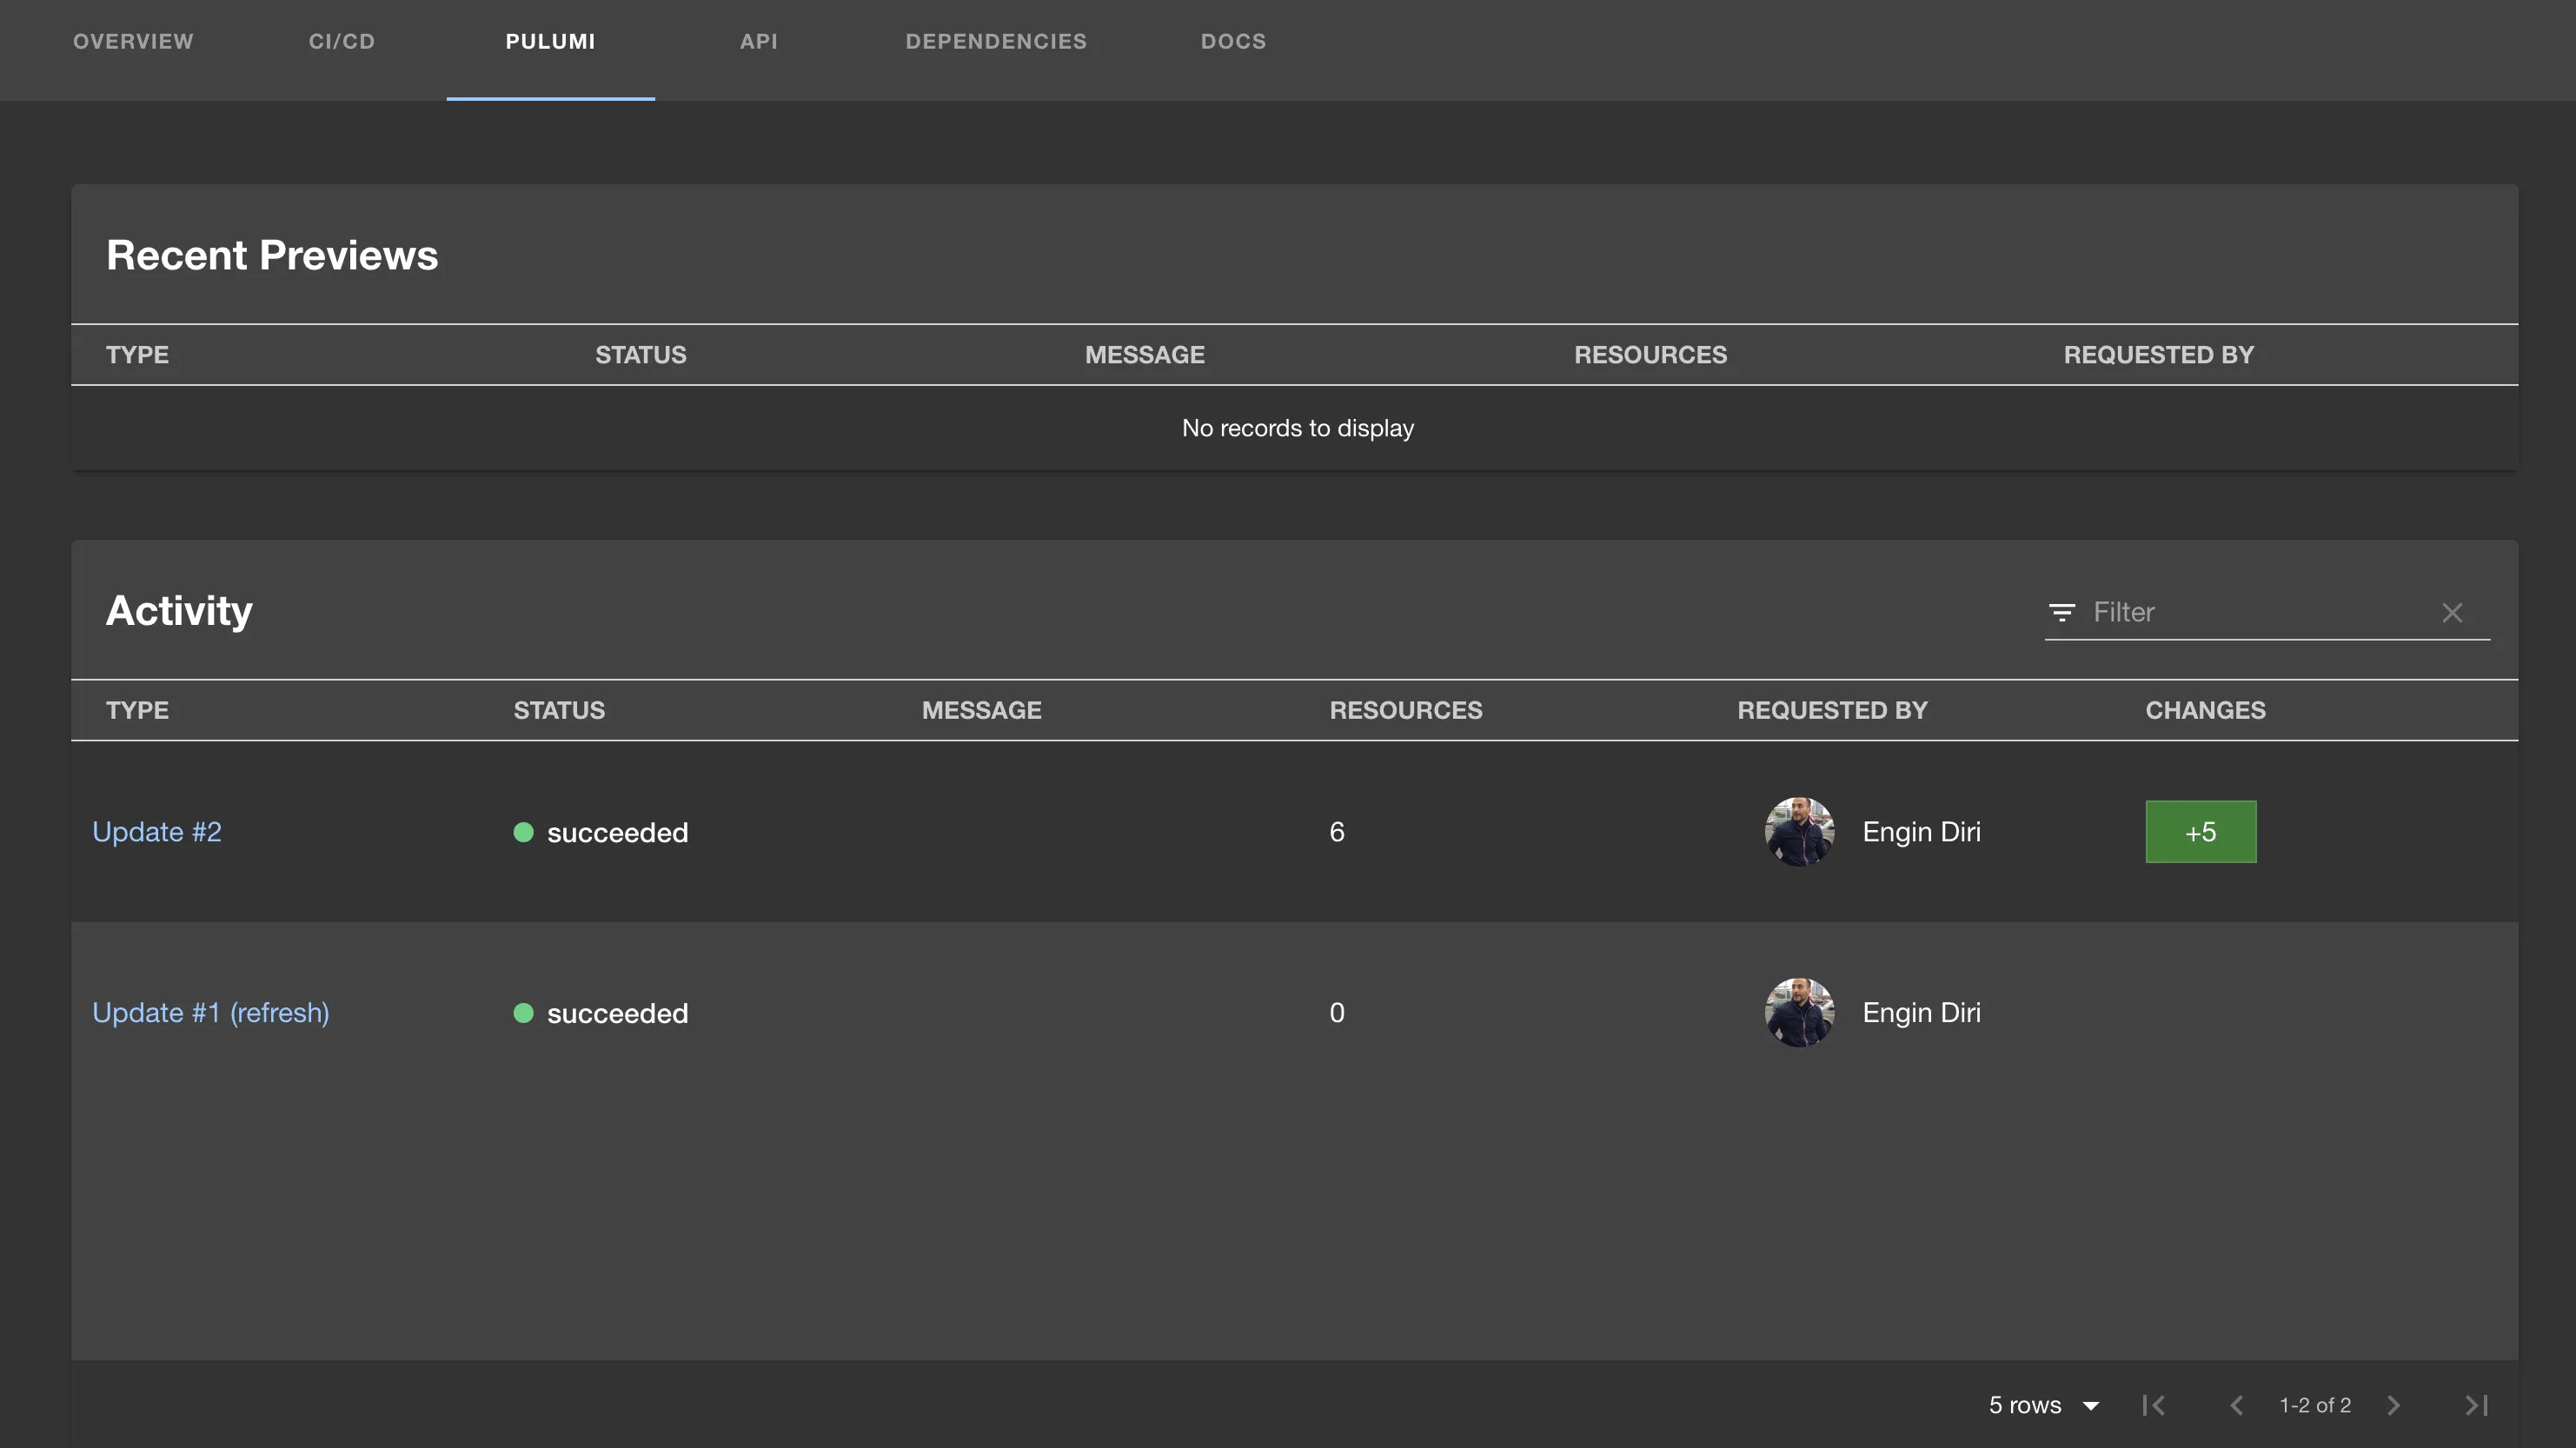
You can also add the 'Pulumi Activity View' tab to the entity page by adding the PulumiComponent as a new tab.
Set the Pulumi annotation on entities
The Pulumi plugin uses annotations to link each component/resource/system with it's Pulumi project/organization in order to get information for each entity.
Make a PR to the following to your catalog-info.yaml file, or add this annotation to your entity by decorating it in Roadie:
First, annotate your component/resource entity with the following:
annotations:
  pulumi.com/project-slug: [Pulumi Cloud Name: org/stackname/stack]
And your system entity with the following:
annotations:
  pulumi.com/orga-slug: [Pulumi Cloud: org]