Integrating with Bitbucket
Published on March 28th, 2022Introduction
This tutorial will guide you through the steps required to connect Roadie to your Bitbucket repositories.
At a Glance
| Prerequisites | |
| Considerations | |
| Supported Environments | ☒ Private Network via Broker ☐ Internet Accessible via IP Whitelist ☒ Cloud Hosted |
Step 1: Save Bitbucket integration config in Roadie
By adding a Bitbucket integration you will allow Roadie to access the YAML metadata files that Backstage needs to operate.
Roadie supports Bitbucket configuration on both Bitbucket Cloud and self-hosted Bitbucket server. The authentication methods supported are either with Token or a Username + Application Password authentication. Username + Application Password is the preferred authentication method since it provides more granular options to control the access to give to the integration. If you are connecting to a Bitbucket server, Username + Application Password is the only supported connection method.
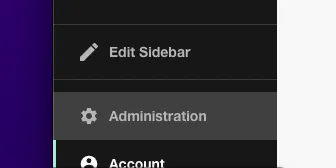
- Click the Administration link in the bottom left of the application.
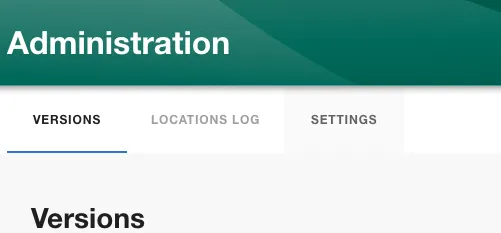
- Click the Settings tab along the top of the Administration page.
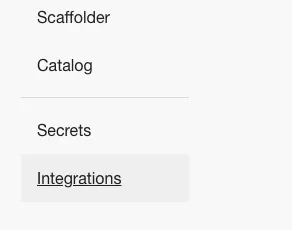
- Click on Integrations in the left sidebar.
- Open the Bitbucket section of the accordion
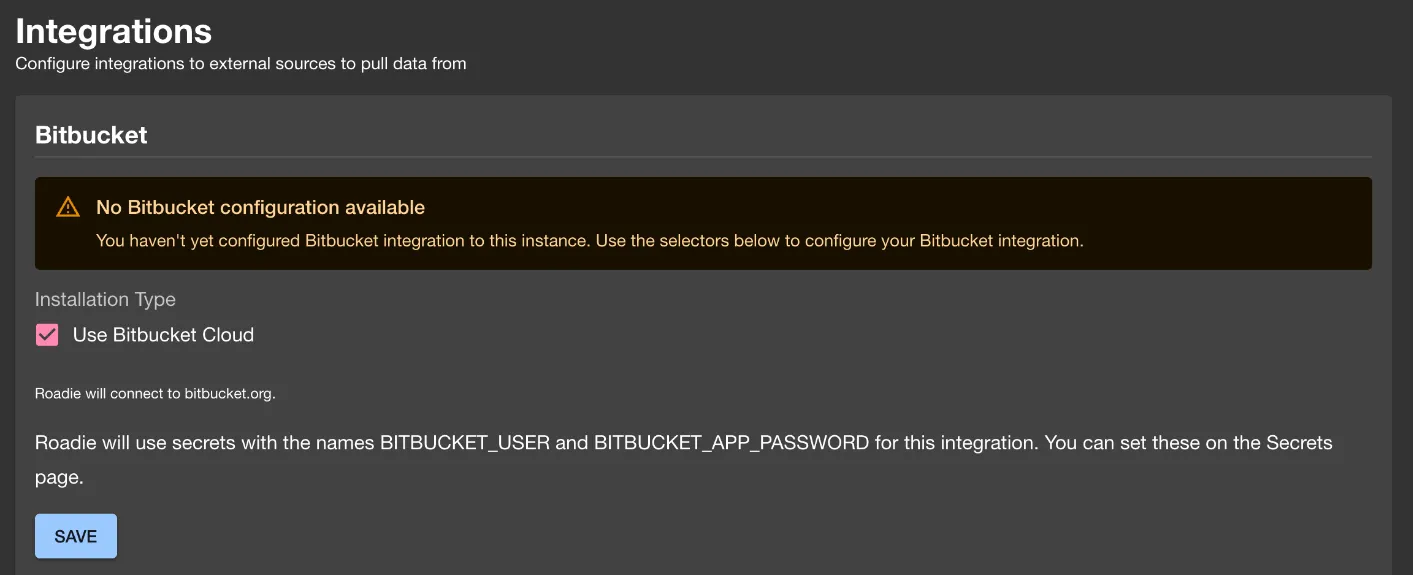
Bitbucket Cloud configuration
You will see a warning that a Bitbucket configuration is not available.
Press on the save button to enable the Bitbucket Cloud configuration.
Authentication
Roadie can connect to Bitbucket via two different authentication methods:
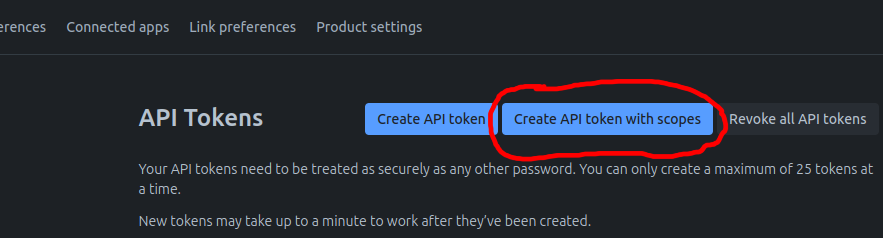
- Username + API token (Recommended) - Provides granular access control with dedicated scoped API tokens.
- Username should be your Bitbucket workspace email address.
- API token should be a scoped API token with at least the following permissions:
- Repositories: Read
- For scaffolder actions you may also need to expose the necessary write permissions.
- Username + App password - The legacy (deprecated) app password. Provides granular access control to resources using the deprecated app password authentication method.
- Note: This method is deprecated and will be removed in the future.
- Username should be your Bitbucket workspace username.
- Token (Legacy) - Uses a repository access token for authentication.
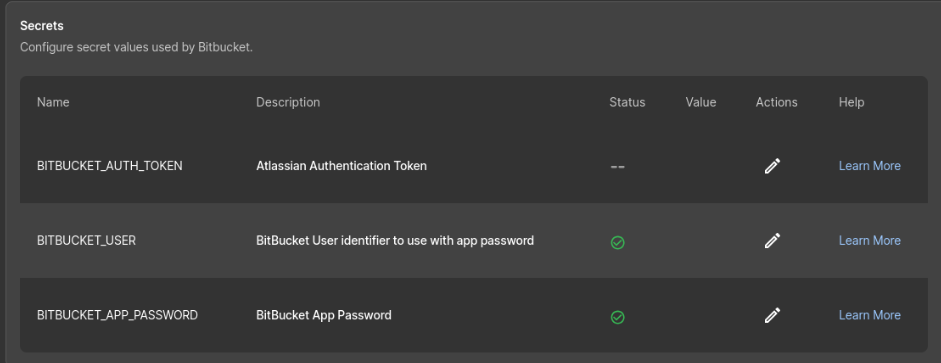
Storing authentication credentials
Store your username and API token in the Secrets section of Roadie configuration. Use APP_PASSWORD secret for both API token and "App password"-based approaches.
⚠️ You may need to wait up to 2 minutes for the Bitbucket integration to become active.
Configure autodiscovery
-
Go to the 'Configure your autodiscovery' section.
-
Click on the '+ ADD LOCATION'
-
Put your target URL into the modal.
-
press Save
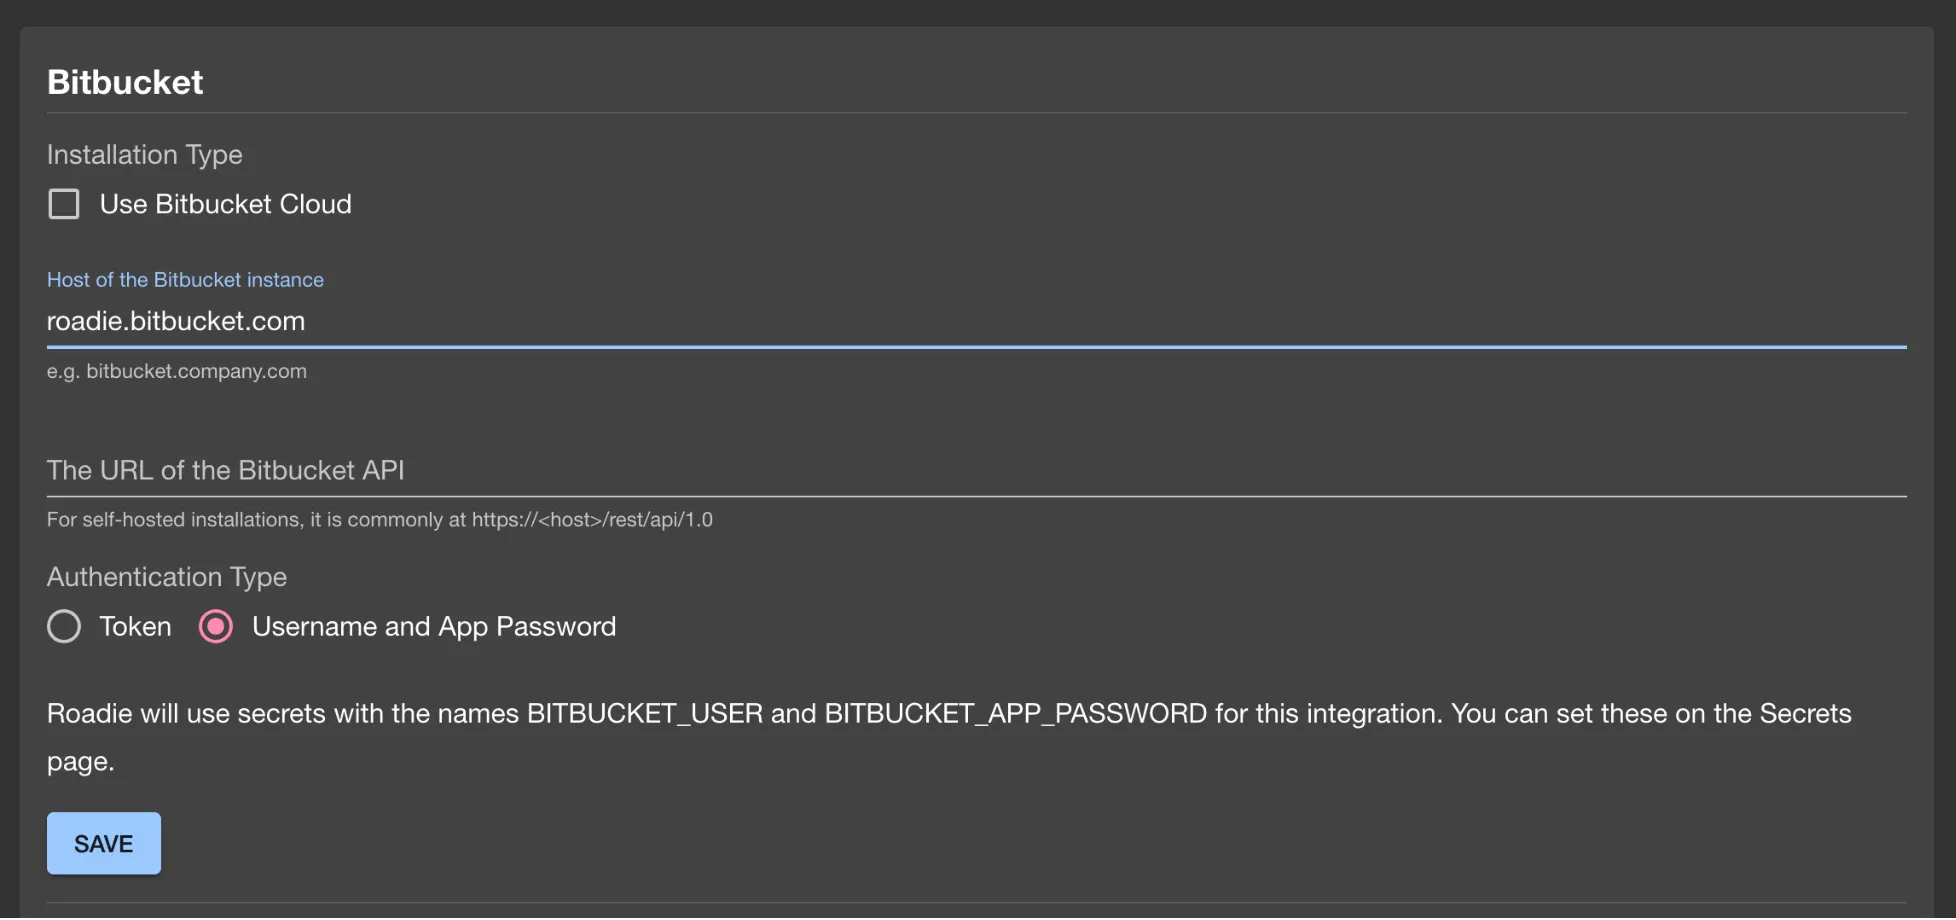
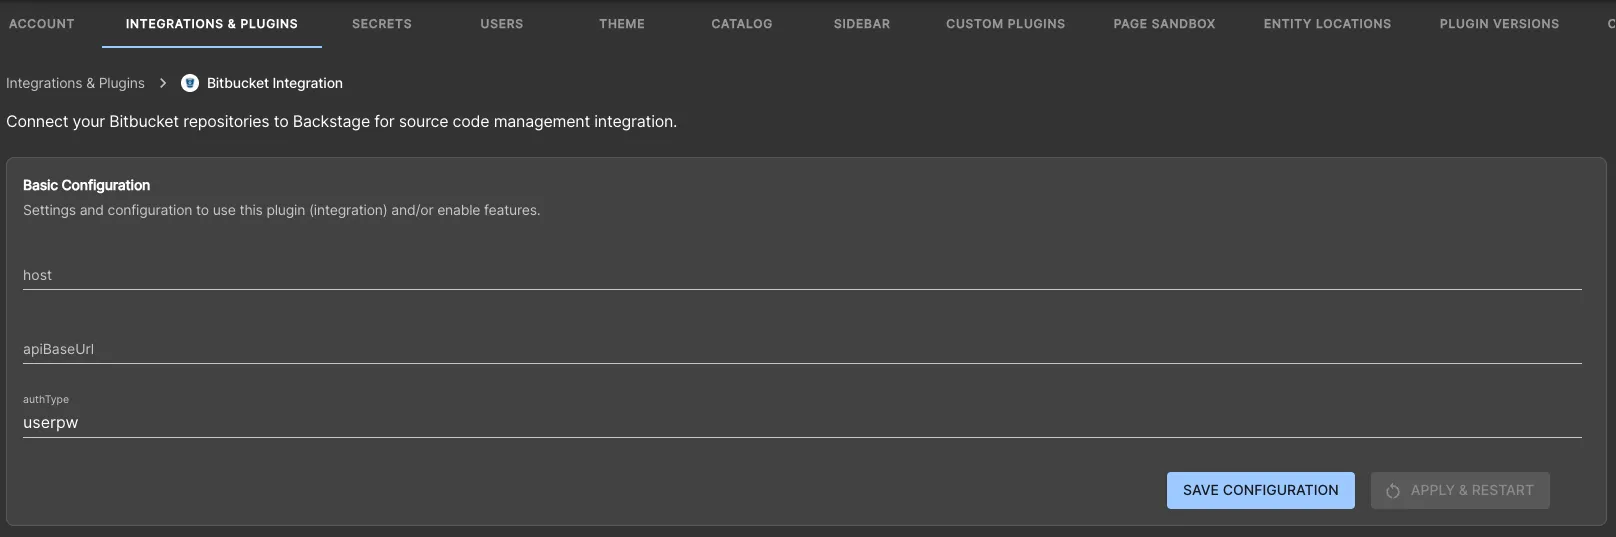
Bitbucket Server configuration
-
Untick the 'Use Bitbucket Cloud' check box
-
Fill in your host
-
Add your api url
⚠️ You may need to wait up to 2 minutes for the Bitbucket integration to become active.
Using the Broker
To connect Roadie to a self-hosted Bitbucket instance on a private network, you can use the Broker connection.
-
Set up a working broker client with the correct
accept.jsonand token configuration. See the Broker documentation for setup instructions. -
Configure the integration settings:
- Host: Your internal Bitbucket instance's hostname
- API Base URL: Use the broker protocol with the full API path, e.g.
broker://<token>/rest/api/1.0 - Auth Type: See authentication options above
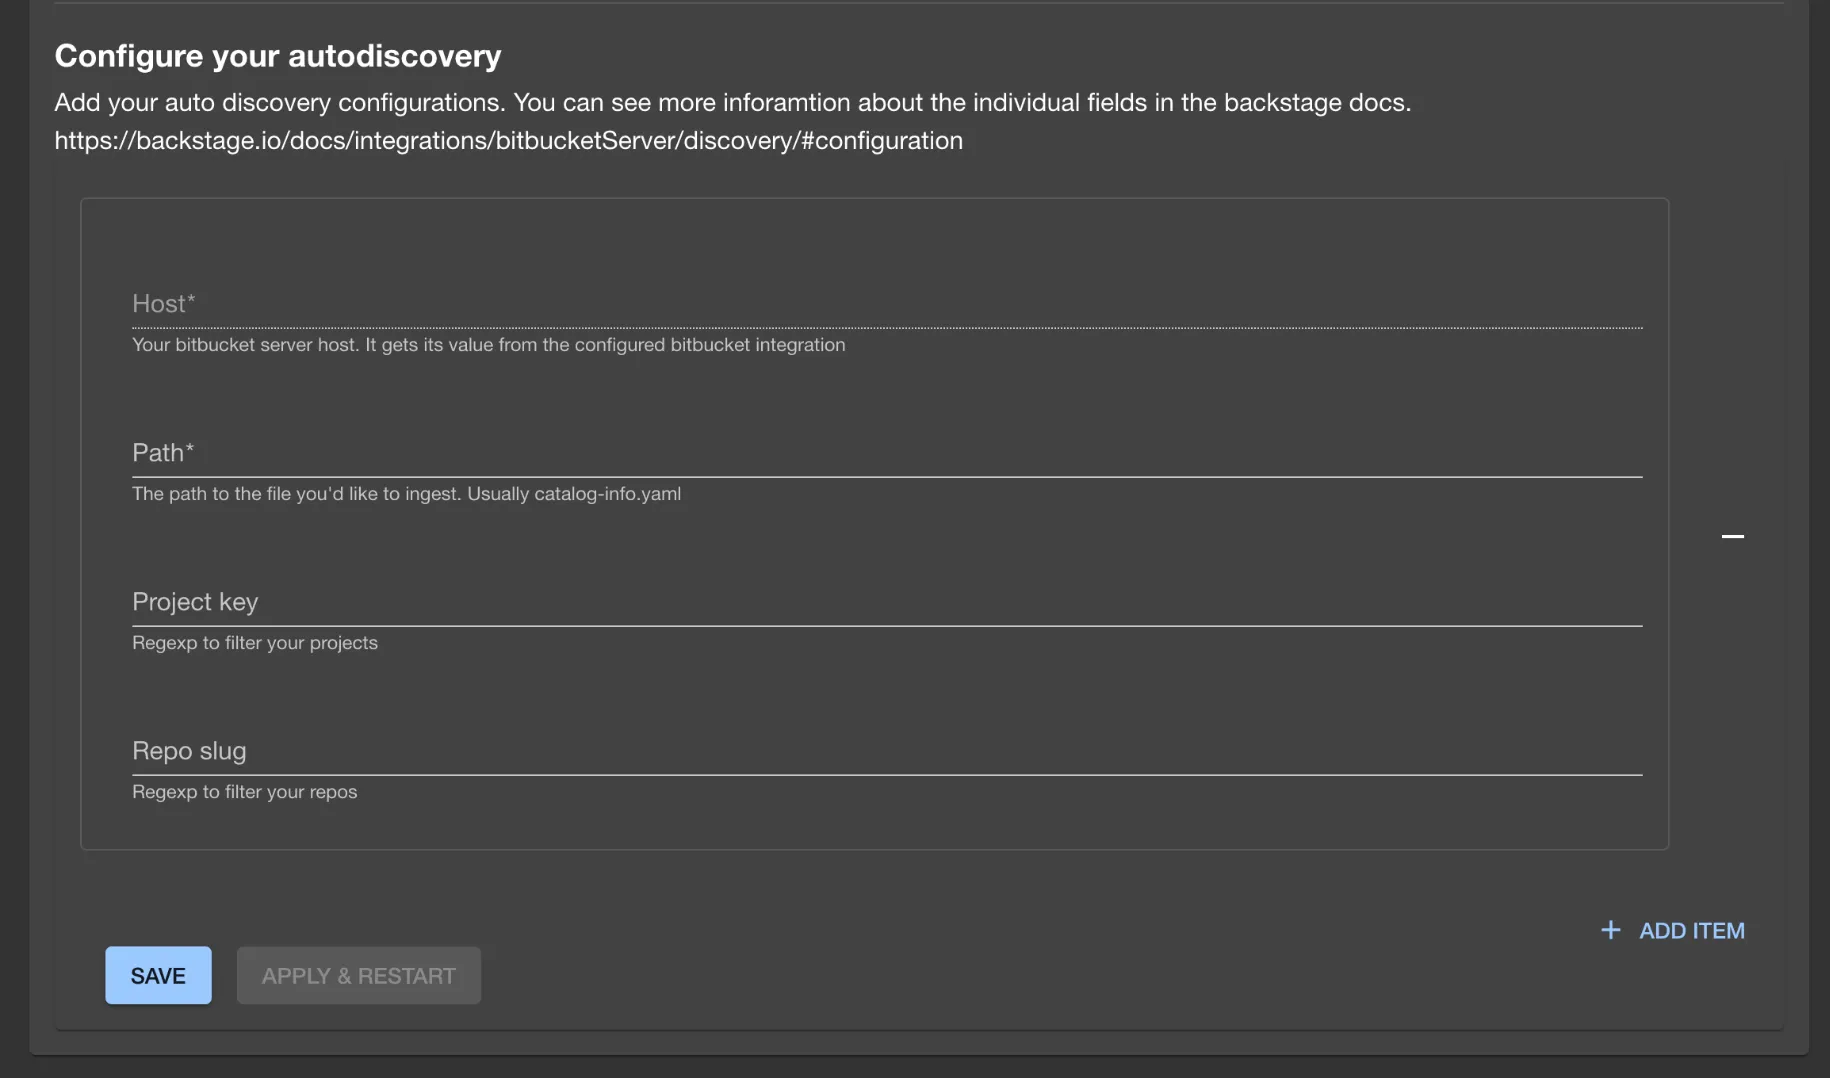
Configure autodiscovery
For autodiscovery we use the OSS BitbucketServerProvider from the backstage repository.
Due to the strict rate limits on the Bitbucket API it currently runs every 30 minutes.
- Go to the 'Configure your autodiscovery' section below the integration section
- Click the '+ ADD ITEM' button
- Fill in the form.
- Host (readonly): It will be filled based on your configured integration's host.
- Path: The absolute URL to your catalog info files from the root of your repositories
- Project key (optional): A regexp to filter your projects and only ingest from projects that matches this filter
- Repo slug (optional): A regexp to filter your repositories and only ingest from repositories that matches this filter
You can read more about the configuration options in the backstage docs
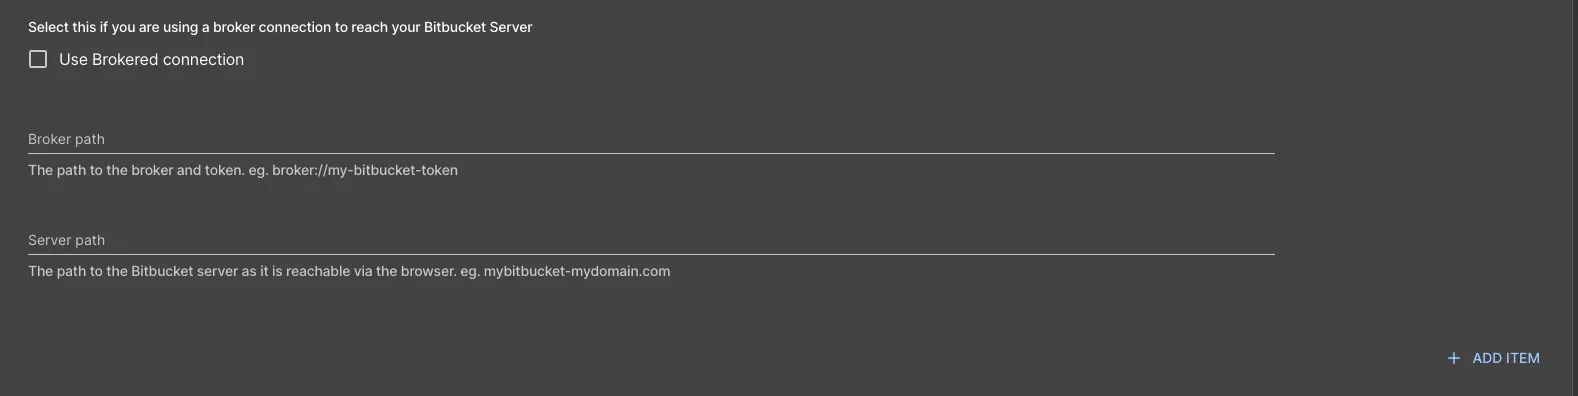
Autodiscovery with Broker
- Check the
Use brokered connectioncheckbox. - Fill in your broker path:
broker://<token> - Fill in your server path to point to your internal Bitbucket instance.