Travis CI
Published on November 1st, 2021Introduction
In order to use the Travis CI plugin, Roadie needs an API token to communicate with Travis CI APIs.
This is set within backstage at the following url:
https://<tenant-name>.roadie.so/administration/travis-ci
This page describes how to create and set up the Travis CI API.
At a Glance
| Prerequisites | |
| Considerations | |
| Supported Environments | ☐ Private Network via Broker ☐ Internet Accessible via IP Whitelist ☒ Cloud Hosted |
Steps
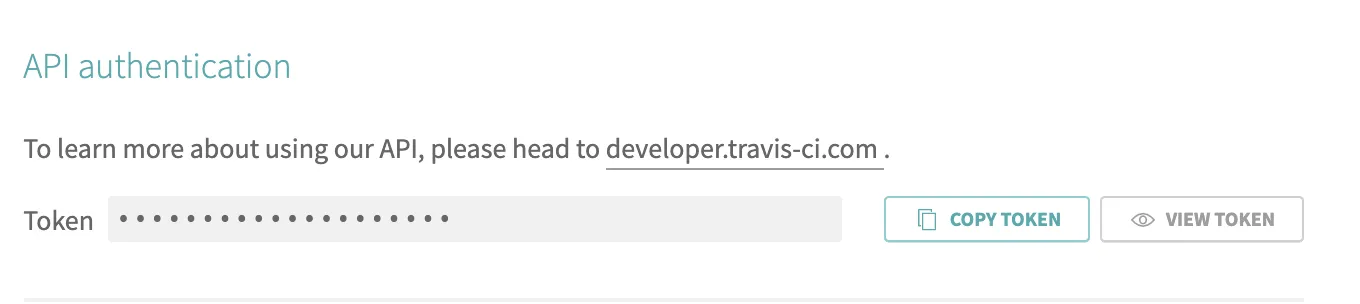
Step 1: Create an API token
Start by visiting the account settings page in Travis CI.
Click on the "Copy token" button under the API settings section.
Step 2: Store the token in Roadie
Visit:
https://<tenant-name>.roadie.so/administration/travis-ci
Enter the token value from above into TRAVISCI_AUTH_TOKEN.
Step 3: Adding annotations to your catalog.yaml
Add annotation to the yaml config file of a component.
Where <owner-name> is the owner of the project in travis and <project-name> is the name of the project in travis.
travis-ci.com/repo-slug: owner-name/project-name
Step 4: Adding travis card
Navigate to the catalog entity you want to add the travis card to.
Click on the edit gear on the top right of the page
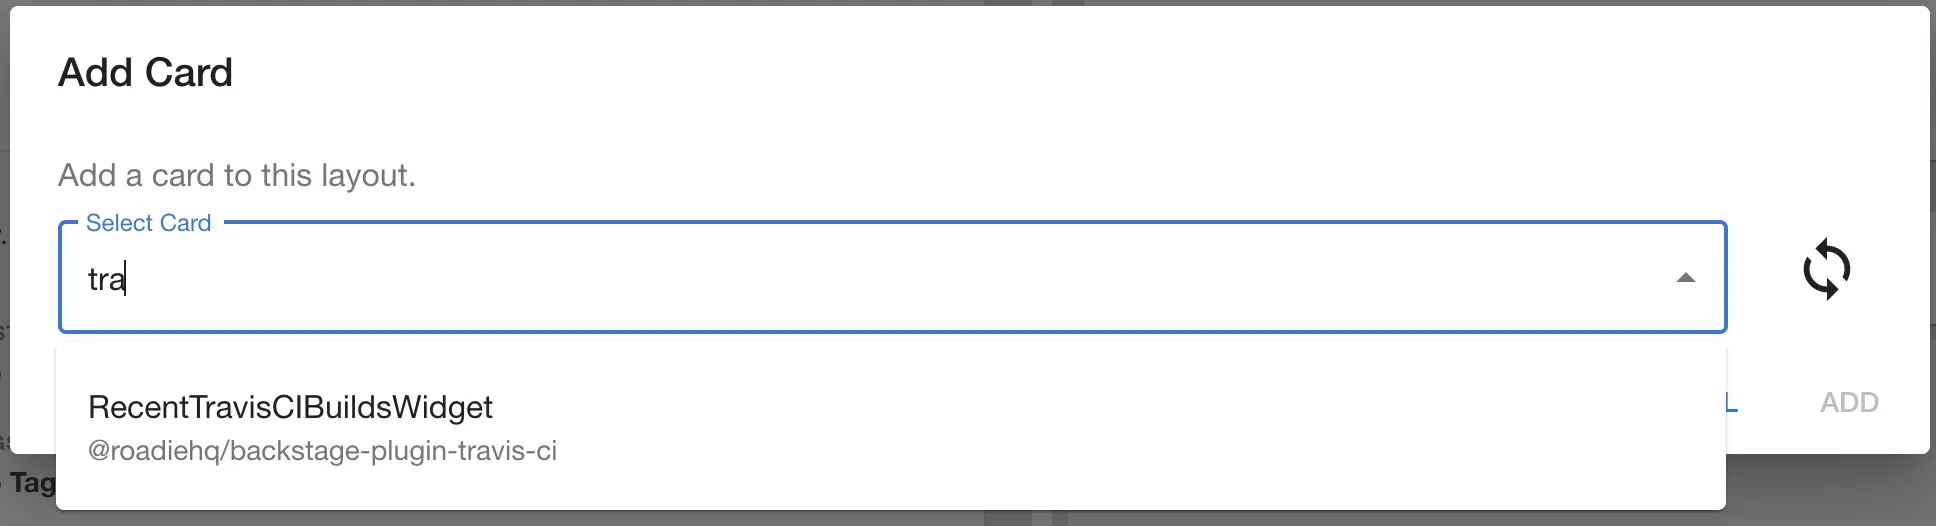
You should now see something like this:
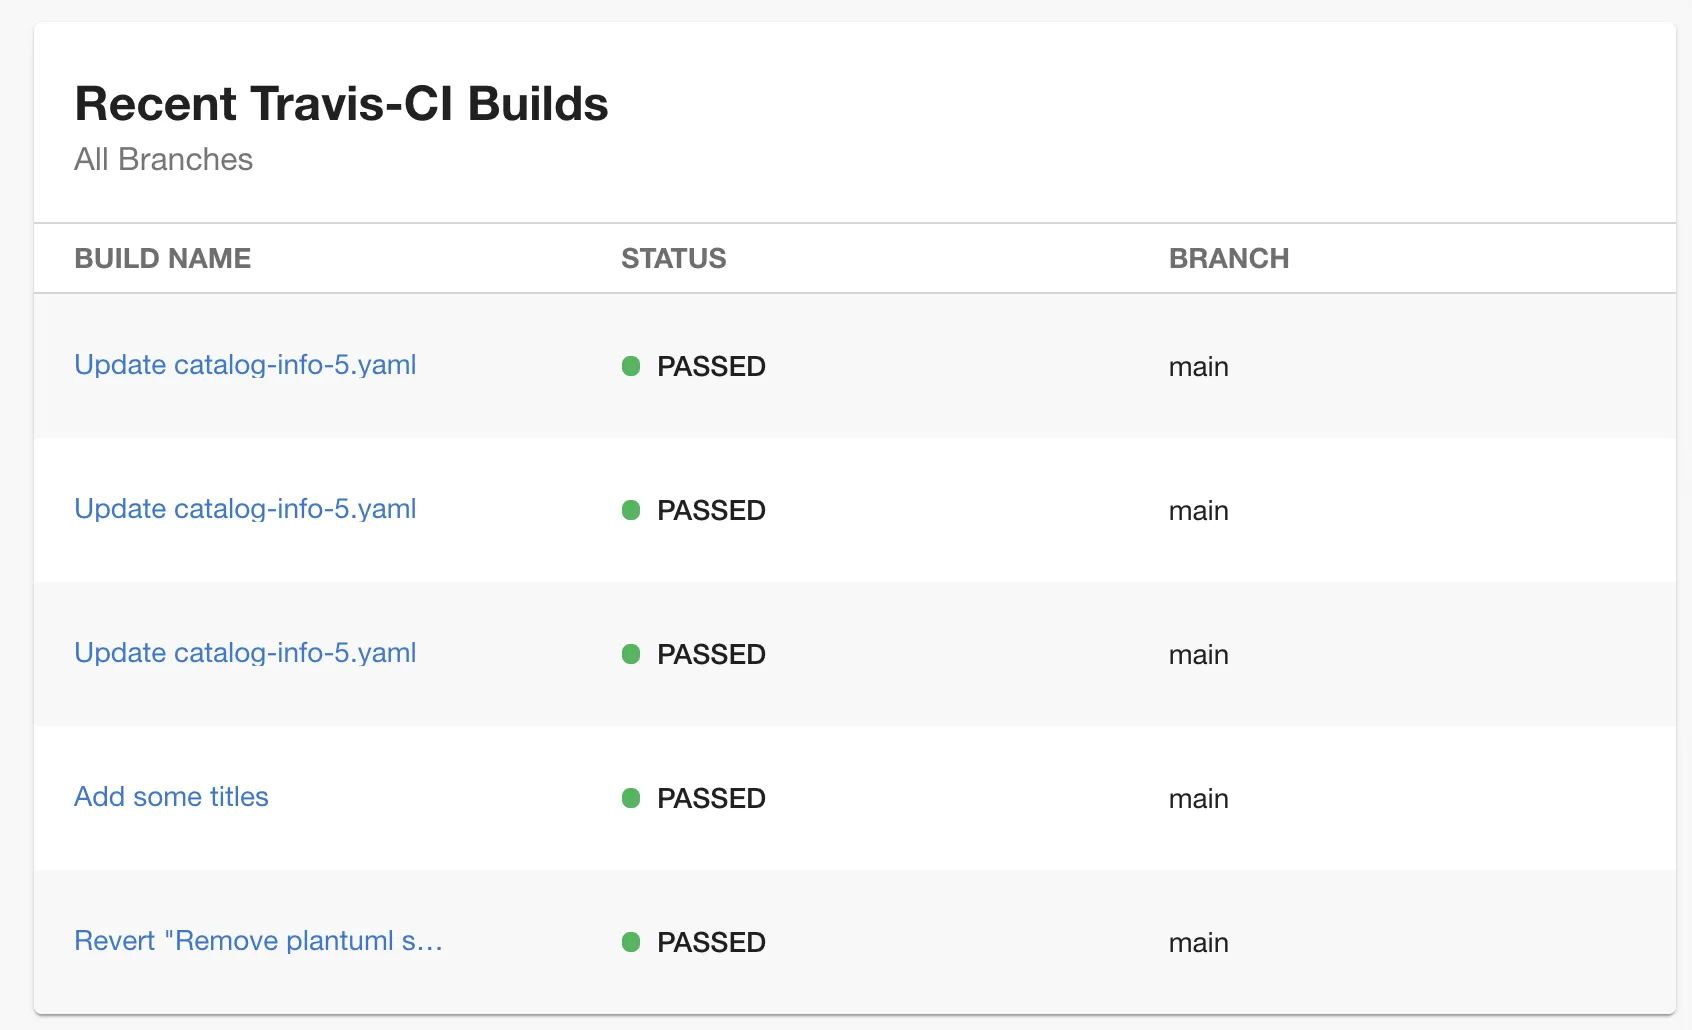
Step 4: Adding travis tab
Navigate to the catalog entity you want to add the travis tab to.
Click on the + icon on the tabs bar (top right of the page)

You should now see something like this:
