Snyk
Last validated on October 2nd, 2025 • Originally published on July 21st, 2021Introduction
In order to use the Backstage Snyk plugin with Roadie, you must securely provide Roadie with an API token which it can use to access the Snyk API.
At a Glance
| Prerequisites | |
| Considerations | |
| Supported Environments | ☐ Private Network via Broker ☐ Internet Accessible via IP Whitelist ☒ Cloud Hosted |
Connect Roadie to Snyk
To get an API token, you need to sign up for a Snyk account. Within this account, you will need to obtain the following:
- API token
- Organization Name
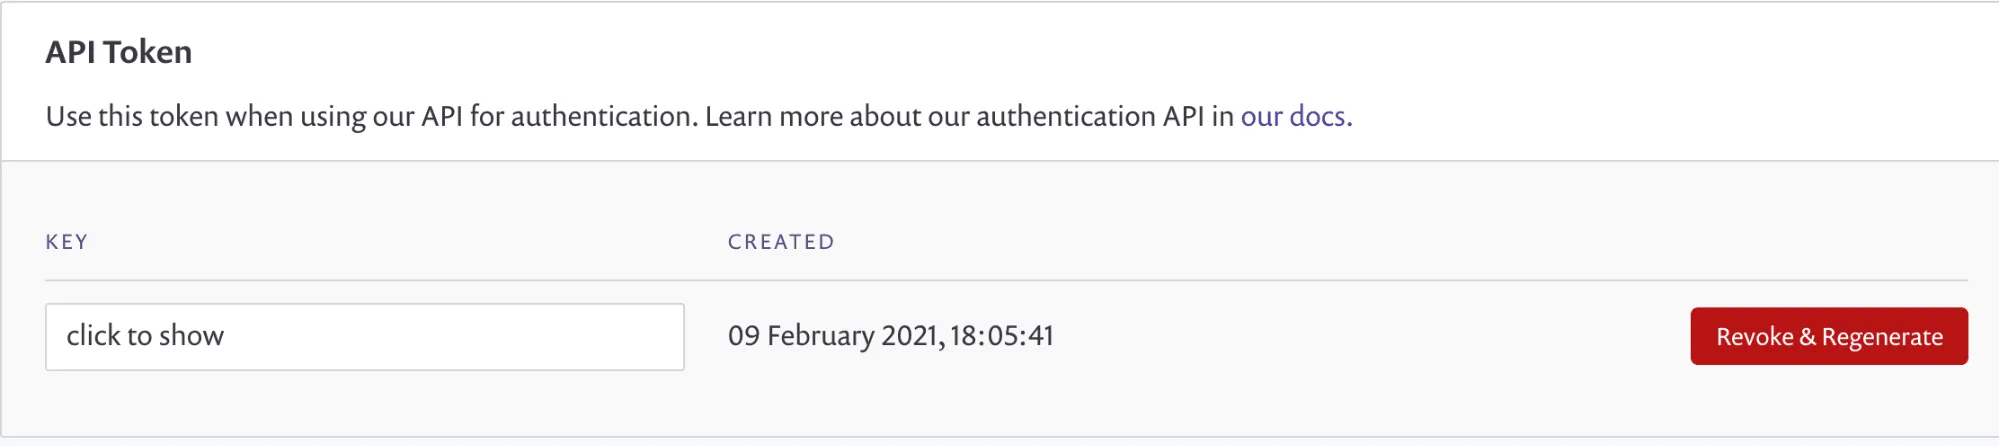
API Token
This can be found by clicking your name in the top right-hand corner and going to General Settings.
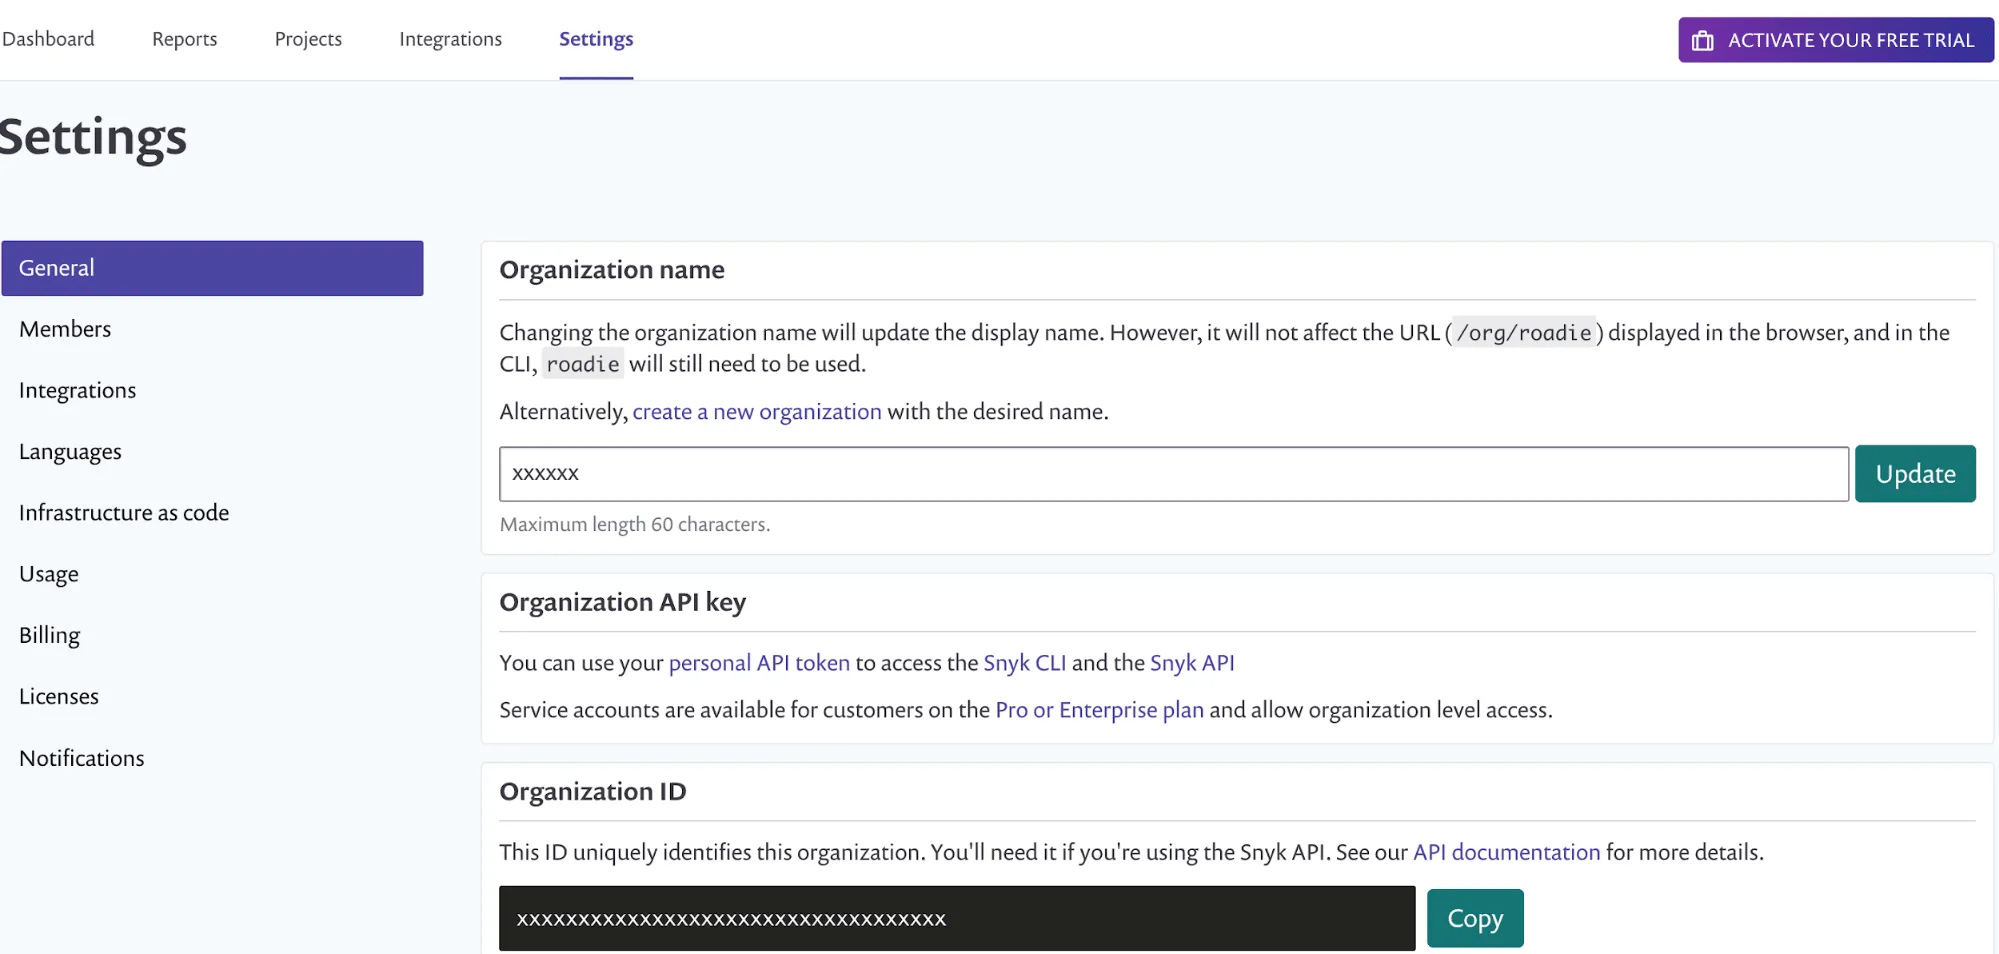
Organization Name
This can be found under the settings page that is visible when you login to Snyk.
Step 1: Add the token to Roadie
Visit https://<tenant-name>.roadie.so/administration/secrets.
Click the pencil icon beside SNYK_TOKEN. Enter it into the input in the dialog that pops up (See above for retrieving token).
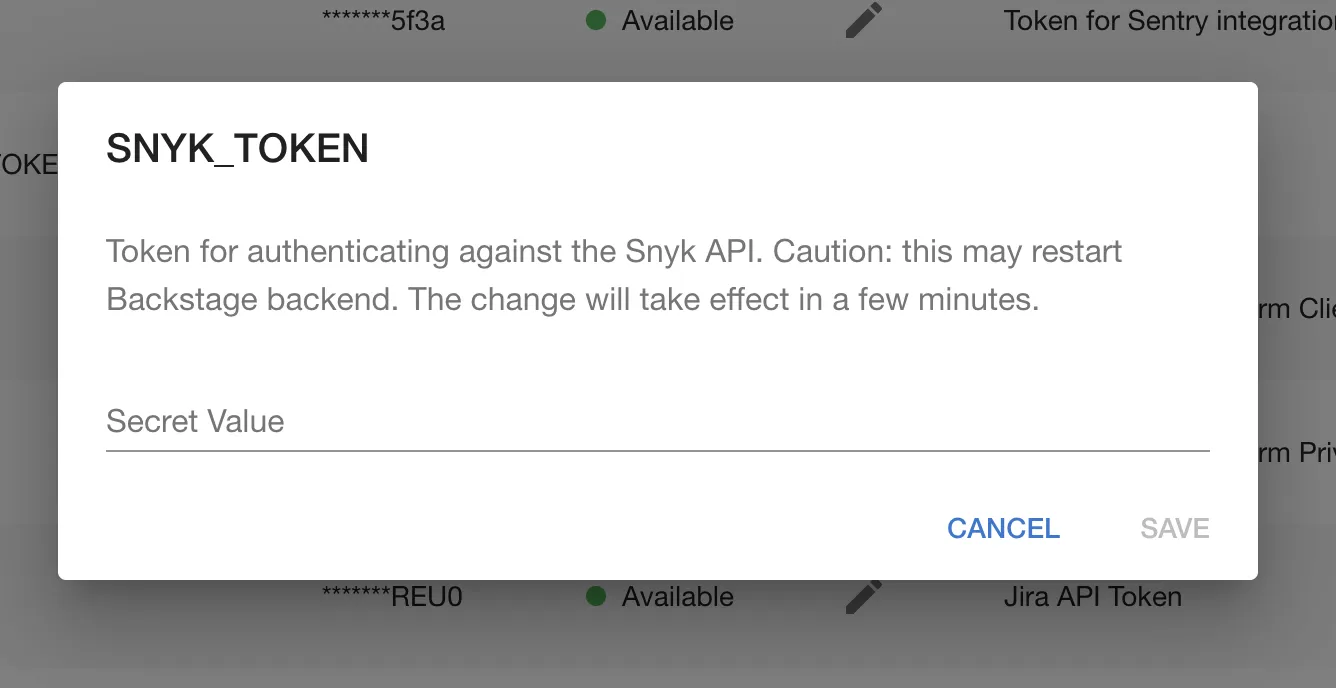
Click Save.
Wait a few moments for the secret to be applied.
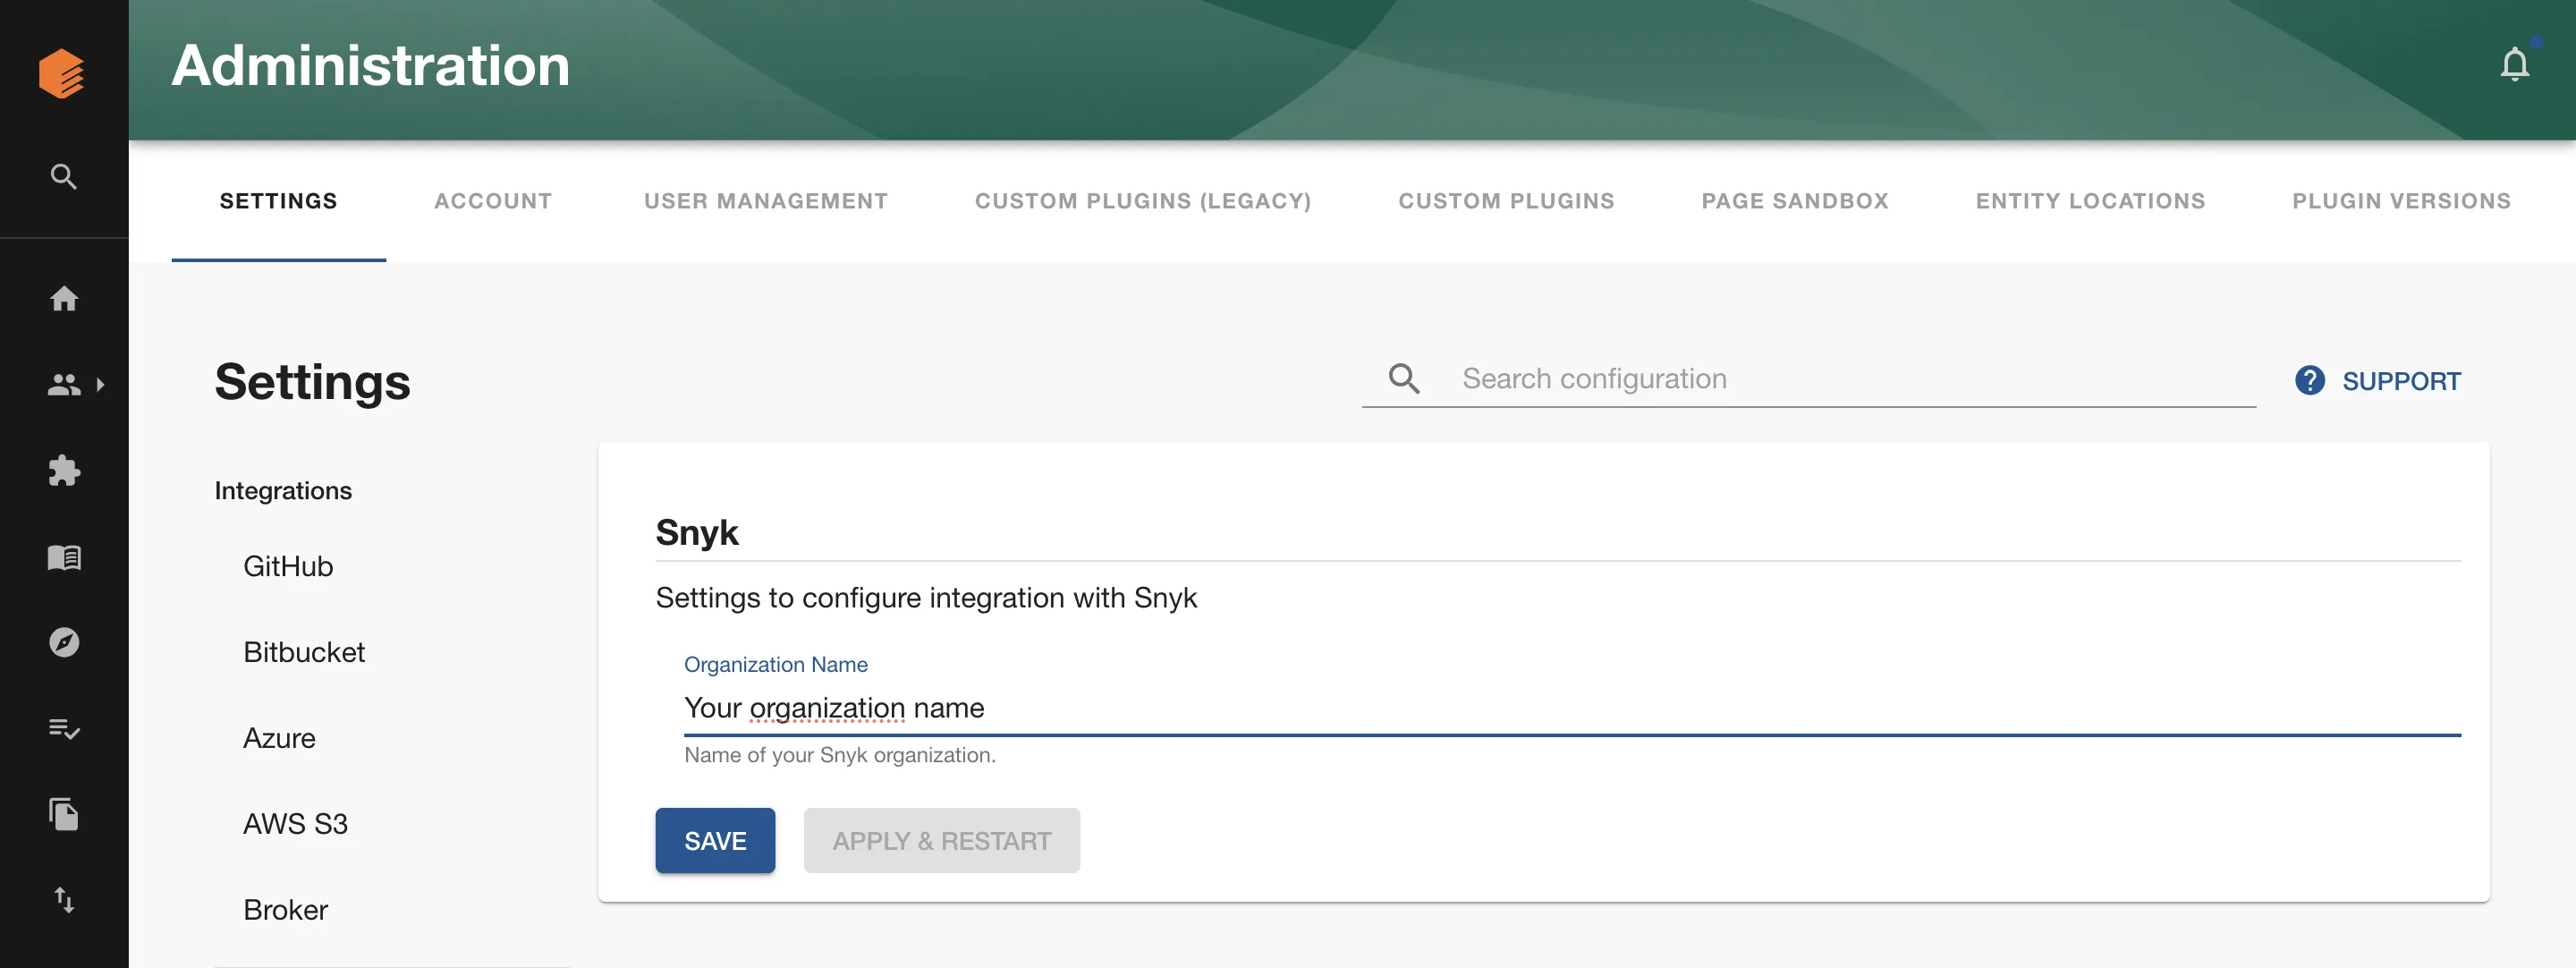
Step 2: Add the Organization name to Roadie
Components need snyk.io/org-id annotation set in order to work properly. Setting the correct organisation name will automatically retrieve organization id and use it as a value for this annotation.
This means you will not have to add a snyk.io/org-id annotation manually for each component but it will be internally retrieved by Roadie using your organisation name.
You can set this up in Settings page:
Visit https://<tenant-name>.roadie.so/administration/settings/snyk.
Step 3: Add the Snyk plugin to Roadie entity page
The Snyk plugin provides two components which can be added to the Roadie UI. You must be a Roadie admin to add components to the UI.
The SnykOverview component can
be added to catalog dashboards and EntitySnykContent as a tab to the entity page. These
list Snyk entity information and metadata.
Step 4: Add the relevant Snyk annotations to a component
To configure the Snyk plugin to target the correct entity, you need to configure few annotations to it.
The first one is snyk.io/org-id which identifies your Snyk organization. As described in the Step 2, if you add organisation name, you will not need to add this annotation manually to the files. However, you can also find this value under the settings page that is visible when you login to Snyk.
Additionally, the Snyk plugin uses github.com/project-slug annotation to automatically match projects from GitHub to their corresponding Snyk targets.
For cases where it is not possible to use the GitHub, you can also use snyk.io/target-id annotation. Unfortunately, Snyk doesn't provide a UI currently to identify Target Ids but you can find them by inspecting the network requests on the Snyk Projects pages.
Edit the catalog-info.yaml for the component you wish to associate with this Snyk project and add the github.com/project-slug and snyk.io/target-id annotation.
apiVersion: backstage.io/v1alpha1
kind: Component
metadata:
  name: sample-service
  description: Sample service
  annotations:
    snyk.io/org-id: <You Snyk organization id>
    github.com/project-slug: <Your GitHub repository>
    snyk.io/target-id: <Your Target ID>
Commit and push this change and Roadie should pick it up within a few minutes.