Configuring Google OAuth for Backstage in Roadie
Published on October 11th, 2021At a Glance
| Prerequisites | |
| Considerations | This assumes you have access to your google cloud console |
| Supported Environments | ☐ Private Network via Broker ☐ Internet Accessible via IP Whitelist ☒ Cloud Hosted |
Introduction
This Google OAuth client will allow Backstage to authenticate your user using your own controlled Google client.
Steps
Step 1: Creating an OAuth app
-
Sign into your GCP console
-
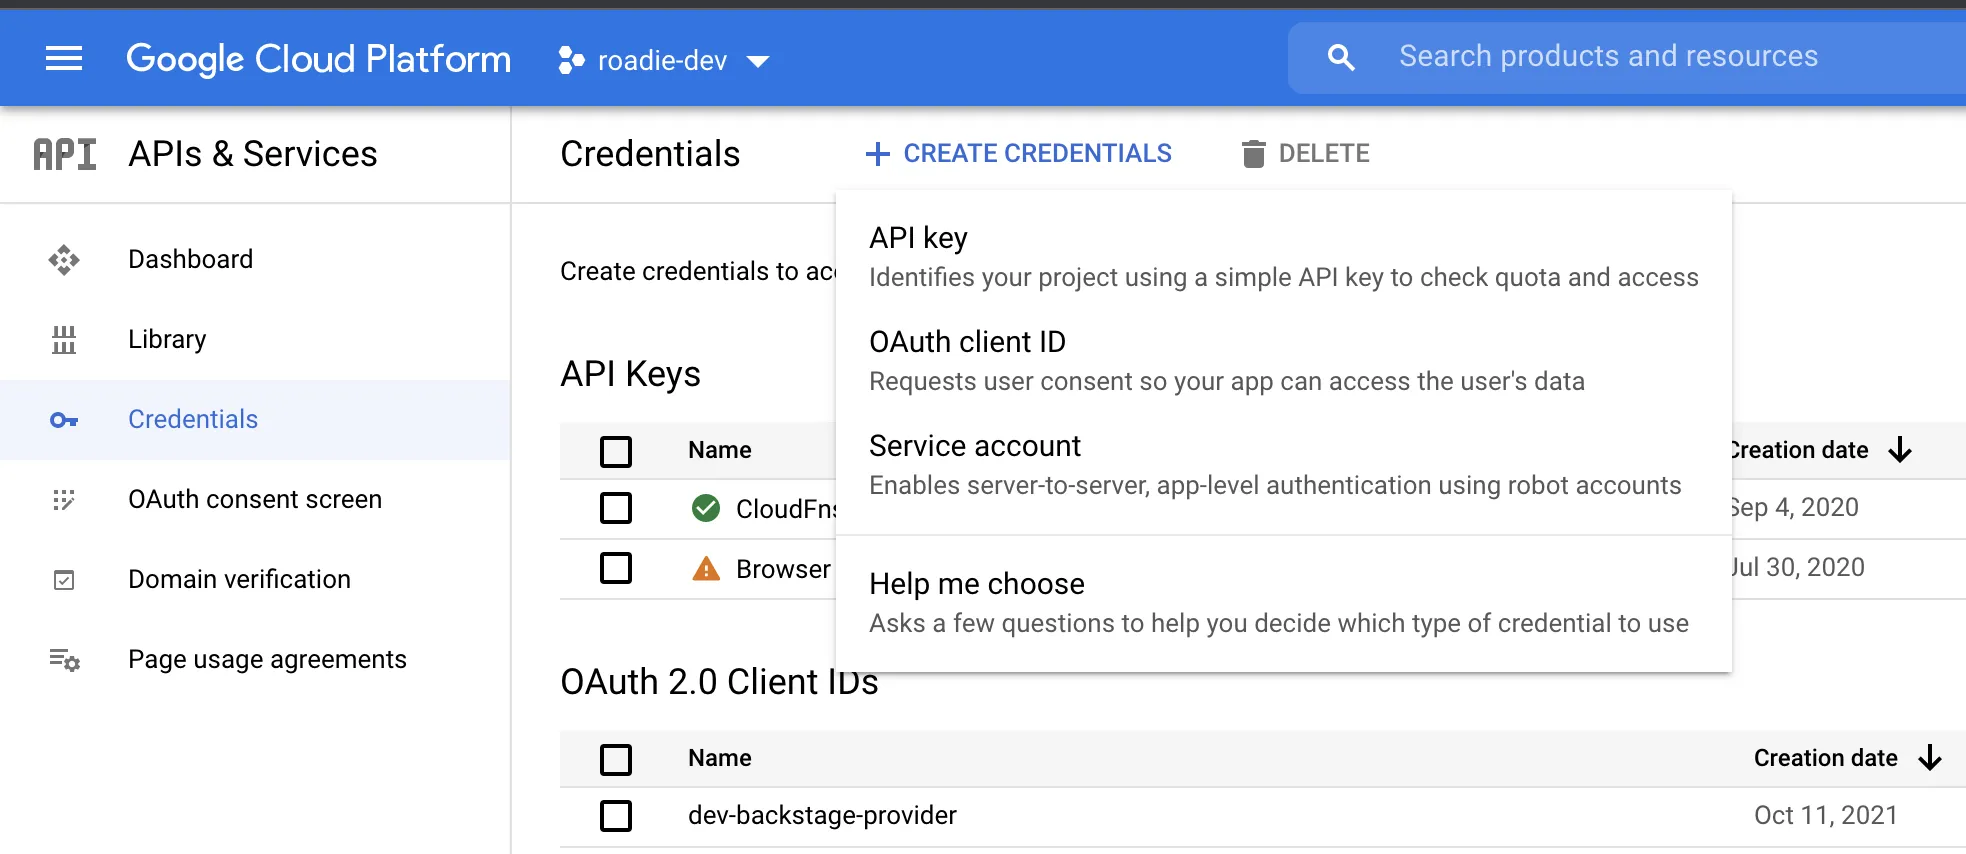
Select the
APIs & Services->Credentials. Now click on theCreate Credentialsbutton, followed byOAuth client ID
-
From the dropdown menu select
Web application, then name it something like 'Roadie OAuth client'. -
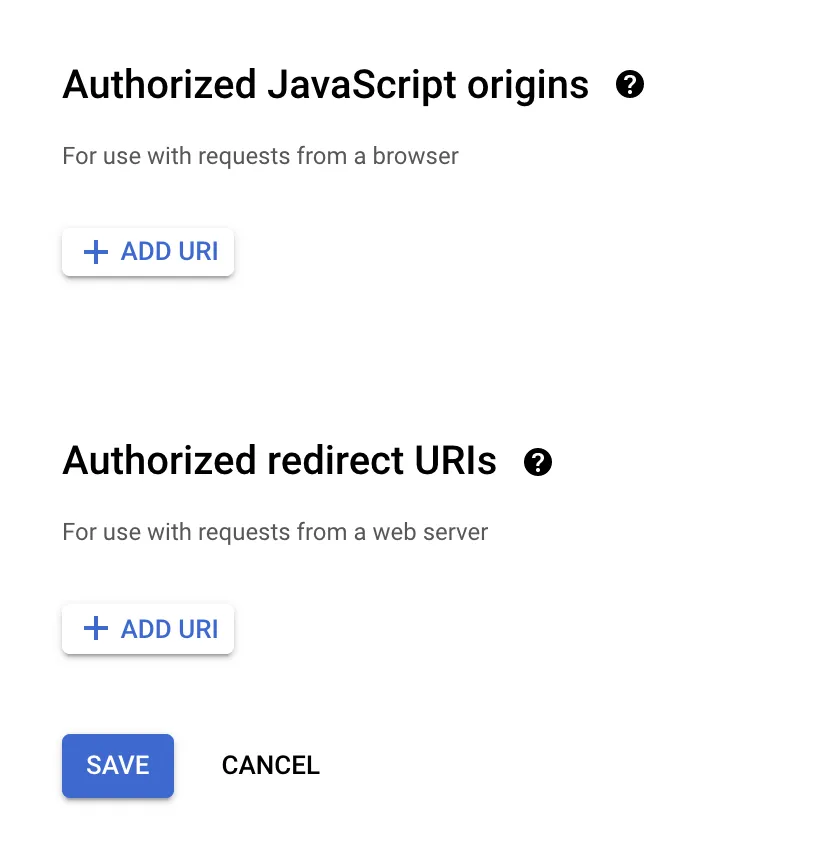
Click on the
Add URIbutton under theAuthorized JavaScript originsand enter the name of your roadie backstage instance (eg. https://.roadie.so)) -
Click on the
Add URIbutton under theAuthorized redirect URIsand enter the name of your roadie backstage instance followed by the following path:/api/auth/google/handler/frame(eg. https://.roadie.so/api/auth/google/handler/frame)
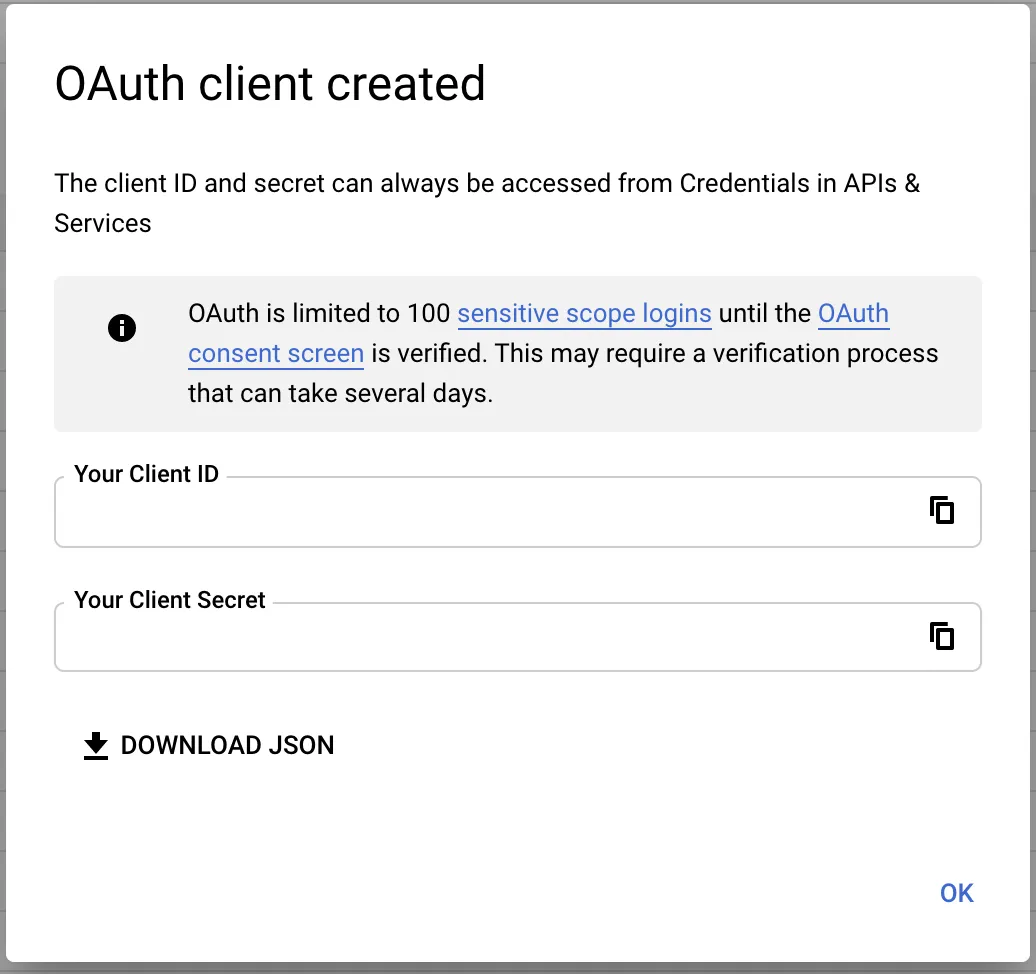
- Save + store client secret and ID for later
Step 2: Adding secrets to backstage
-
Navigate to ”https://
.roadie.so/administration/secrets” -
Using the Secret from step 1, click the pencil marker for the following field
GOOGLE_CLIENT_SECRETand save. -
Using the client id from step 1, click the pencil marker for the following field
GOOGLE_CLIENT_IDand save.
Conclusion
After adding the the OAuth client to your Backstage instance, you will be able to authenticate against Google so that you can read resources on your cloud platform.