Buildkite Plugin
Published on January 12th, 2022Introduction
The Backstage Buildkite plugin integrates with Buildkite to show your build information inside Backstage where it can be associated with your services.
At a Glance
| Prerequisites | |
| Considerations | |
| Supported Environments | ☐ Private Network via Broker ☐ Internet Accessible via IP Whitelist ☒ Cloud Hosted |
Add Buildkite to one of your components
Add the Buildkite annotation
First, add an annotation in the catalog-info.yaml file for a service that uses Buildkite like so:
yaml
metadata:
  annotations:
    buildkite.com/project-slug: <buildkiteorganization/buildkitepipeline>
Add your API Key
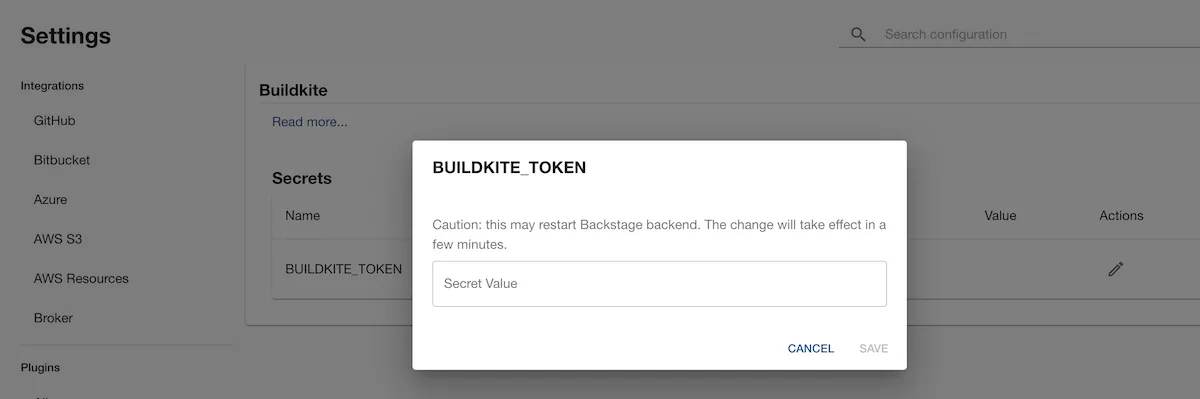
You will need to create an API key for your Org in Buildkite with read permissions.
Then add it to Roadie at /administration/buildkite.
Add the plugin
In Roadie, find and select the service via the Component Catalog or Search.
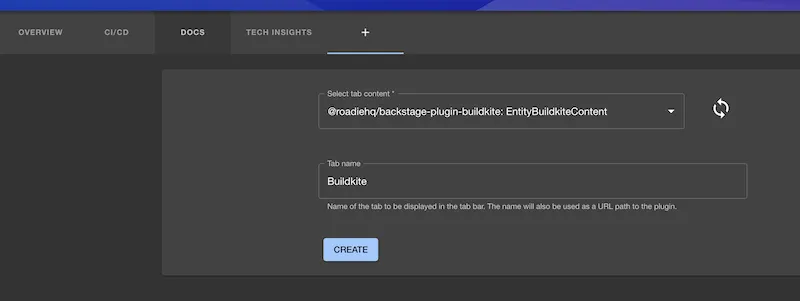
Click the plus icon to add a new plugin for your component.

Select the EntityBuildkiteContent card from the drop-down and click Create.
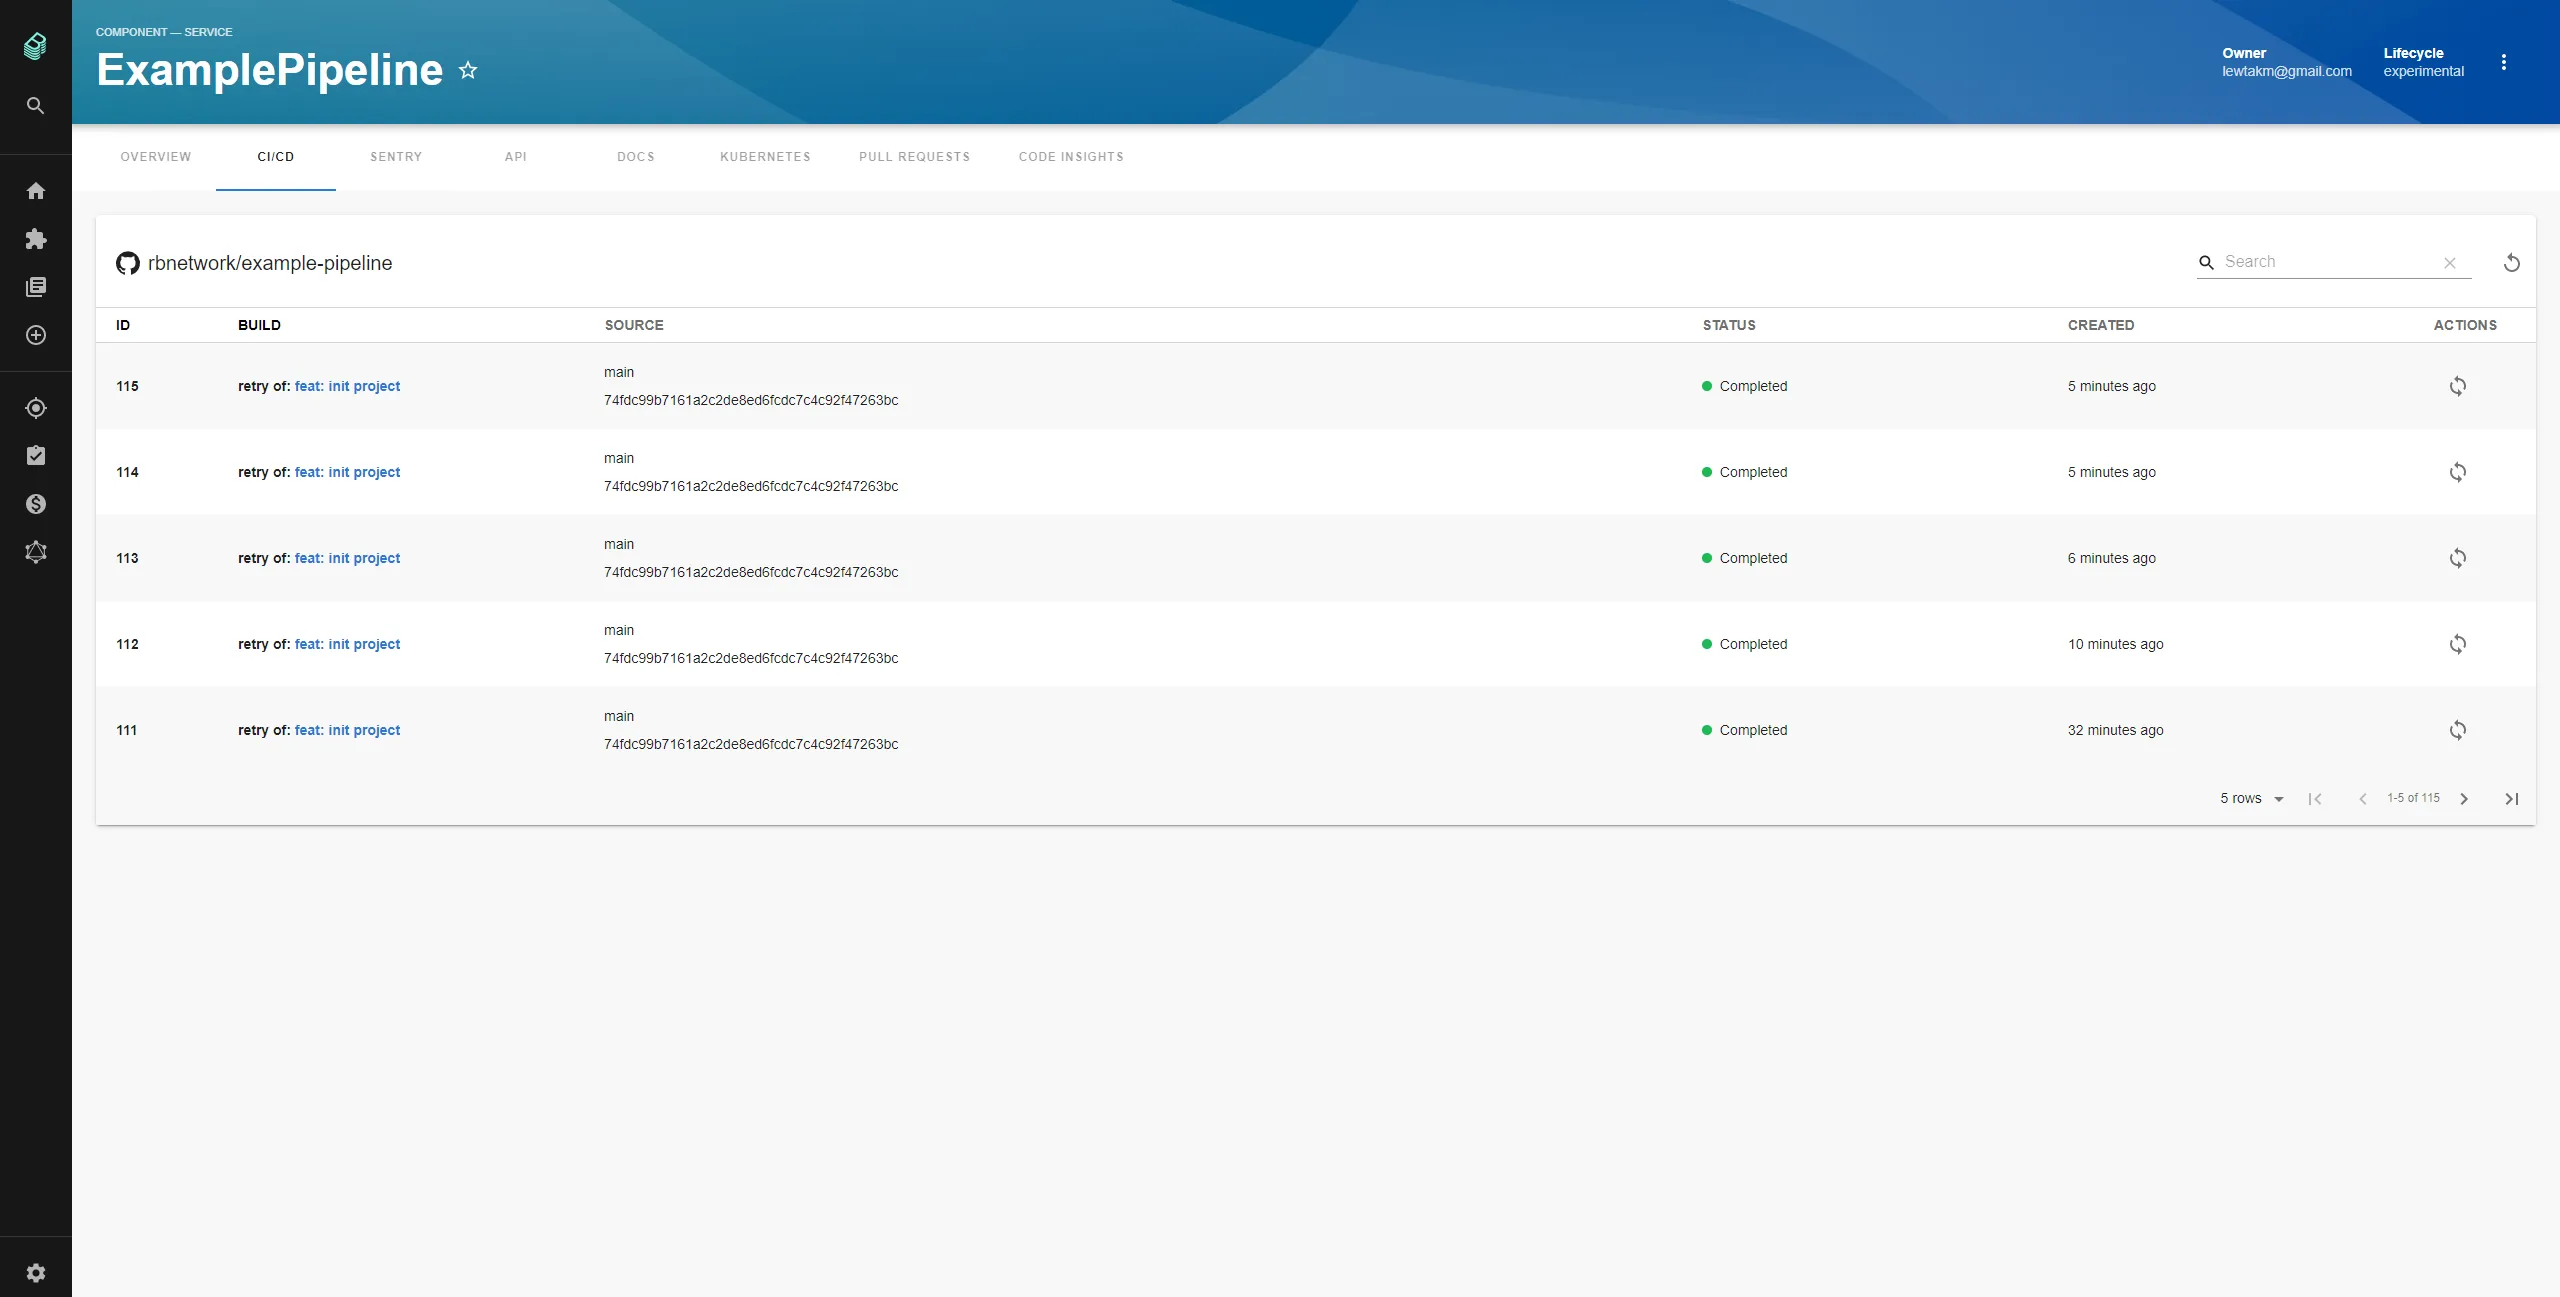
You should now see your Buildkite pipeline runs inside Roadie!
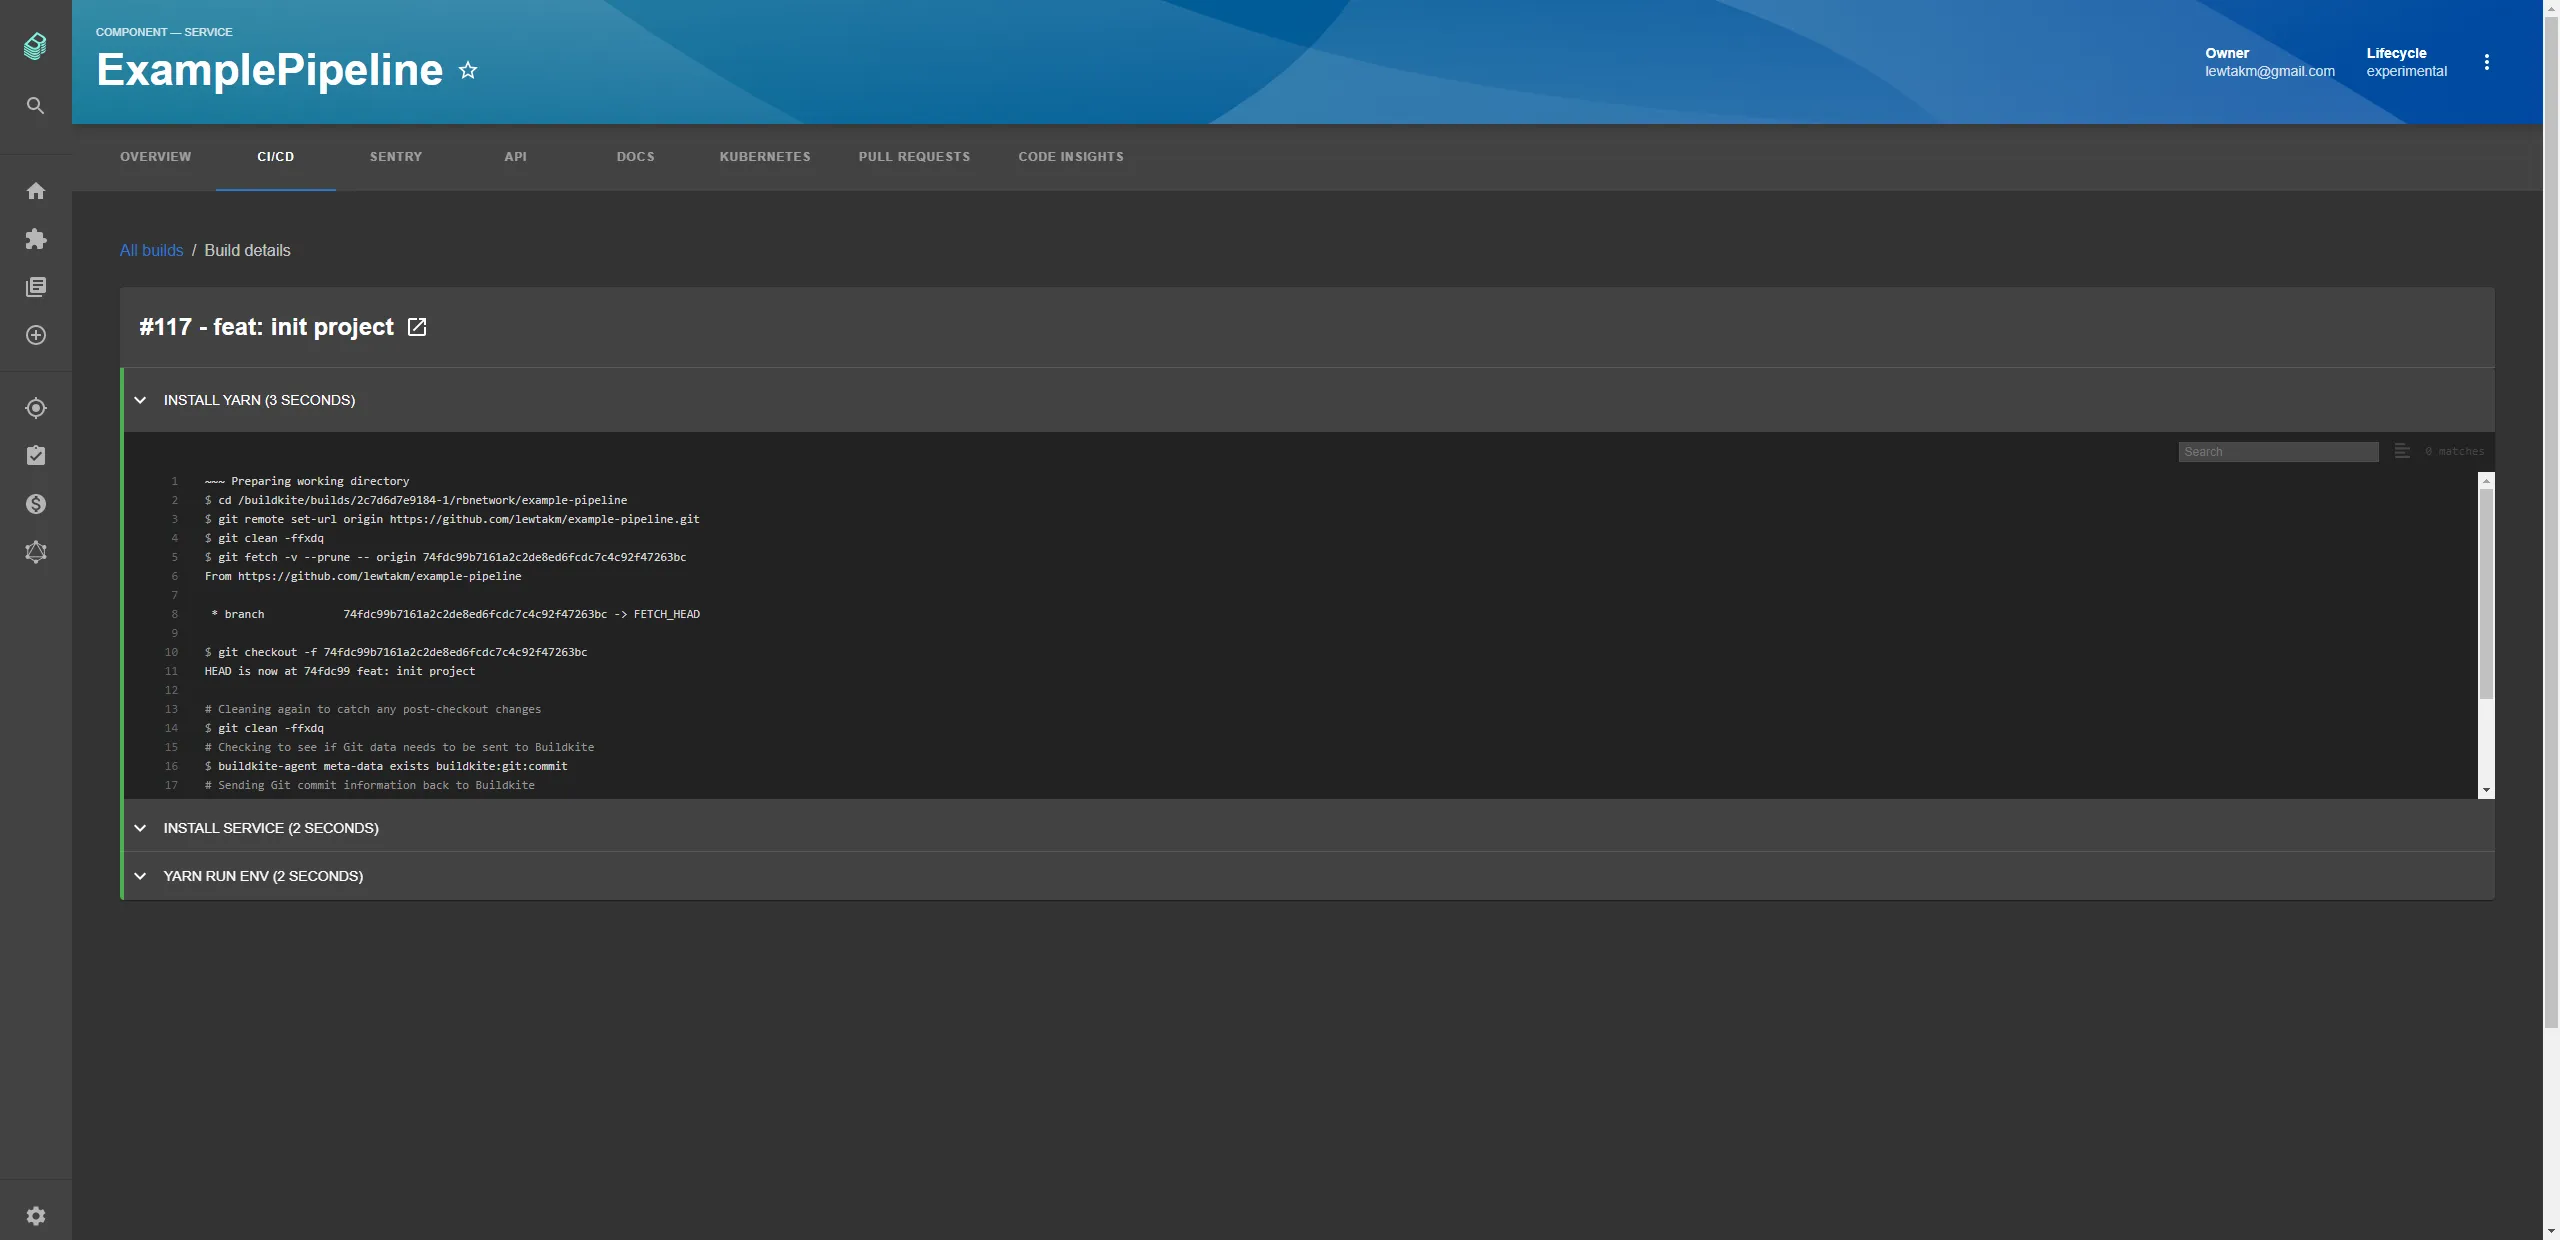
You can then click in individual builds to see more info.