Sentry
Published on February 23rd, 2021Introduction
In order to use the Backstage Sentry plugin with Roadie, you must securely provide Roadie with an API key which it can use to access the Sentry API.
At a Glance
| Prerequisites | Configuration Data:
|
| Considerations | |
| Supported Environments | ☐ Private Network via Broker ☐ Internet Accessible via IP Whitelist ☒ Cloud Hosted |
Connect Roadie to Sentry
Step 1: Set your Sentry organization
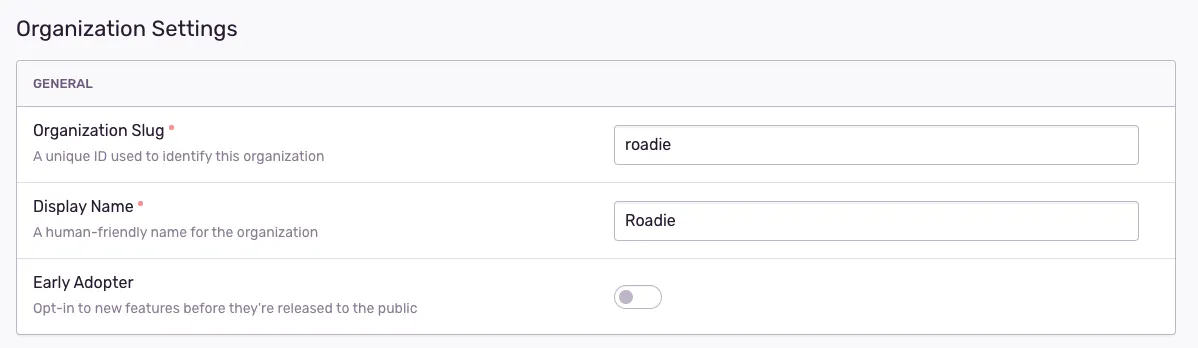
Click the dropdown in the top left corner of the Sentry UI and click "Organization settings".
Copy the value of the Organization Slug from the settings. The value shown here is roadie. You will have a different value.
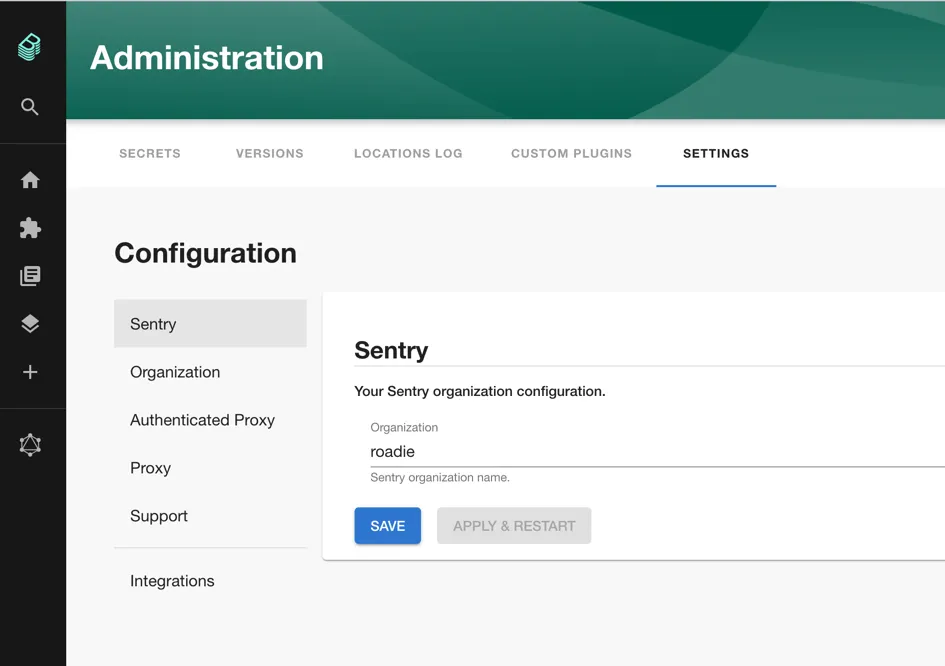
Go to the Administration Settings page and set the Sentry organization name.
Step 2: Get a Sentry token
Create an Internal Integration using the Sentry UI. Click "Settings" in the left sidebar, then "Developer Settings". Next click the "New Internal Integration" button.
Give the integration a name like "Roadie".

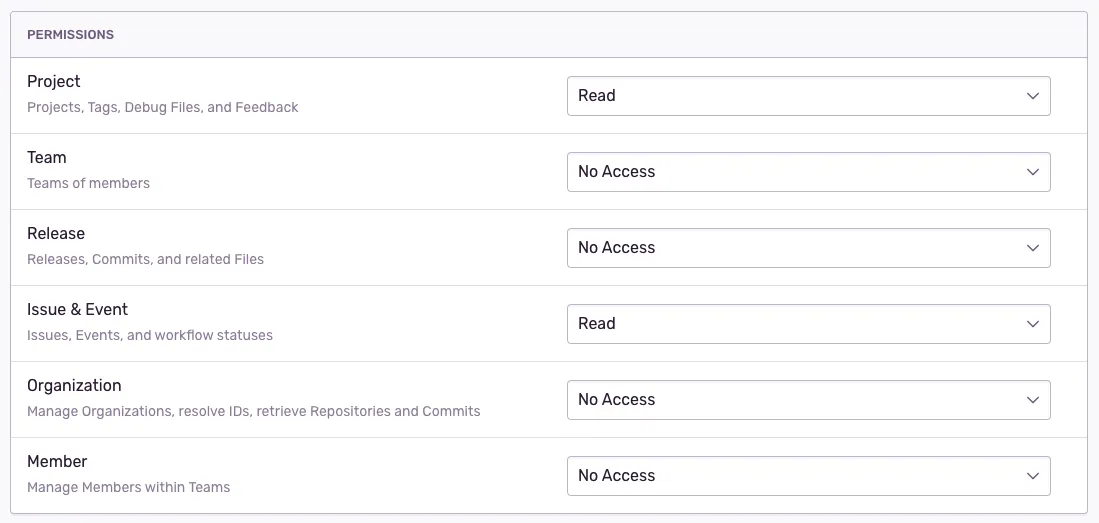
Give the integration the ability to read projects and issues.
Click the "Save Changes" button.
Copy the token that Sentry displays.

Step 3: Add the token to Roadie
Visit https://<tenant-name>.roadie.so/administration/sentry and add the token to the SENTRY_TOKEN secret.
Wait a few moments for the secret to be applied.
Step 4: Add the Sentry annotation to a component
Using the Sentry UI, find a Sentry project which you would like to associate with a component in Roadie.
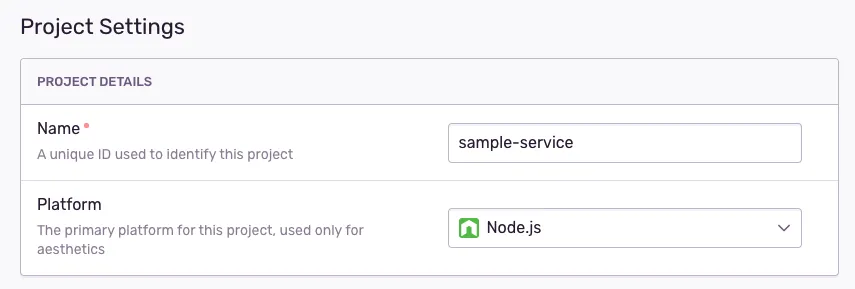
Click the gear icon beside your project name to view the project settings.
![]()
Copy the name from the Project settings
Edit the catalog-info.yaml for the component you wish to associate with this Sentry project and add the sentry.io/project-slug annotation.
apiVersion: backstage.io/v1alpha1
kind: Component
metadata:
  name: sample-service
  description: Sample service
  annotations:
    sentry.io/project-slug: sample-service
Commit and push this change and Roadie should pick it up within a few minutes.