IFrame Plugin
Published on April 25th, 2022Introduction
This is a plugin that renders an Iframe card that can be added to your component/homepage.
At a Glance
| Prerequisites | |
| Considerations | |
| Supported Environments | ☐ Private Network via Broker ☐ Internet Accessible via IP Whitelist ☒ Cloud Hosted |
Add IFrame card to your HomePage
Setup
To use this plugin make sure you already have the Backstage Home plugin enabled.
Add IFrame card to your homepage
-
To enable this plugin go to your
Homepage via the sidebar.Once you are on the home page click on the cogwheel icon.

-
Click the plus sign to add a new Card.

-
Select
HomePageIFrameCardfrom the list.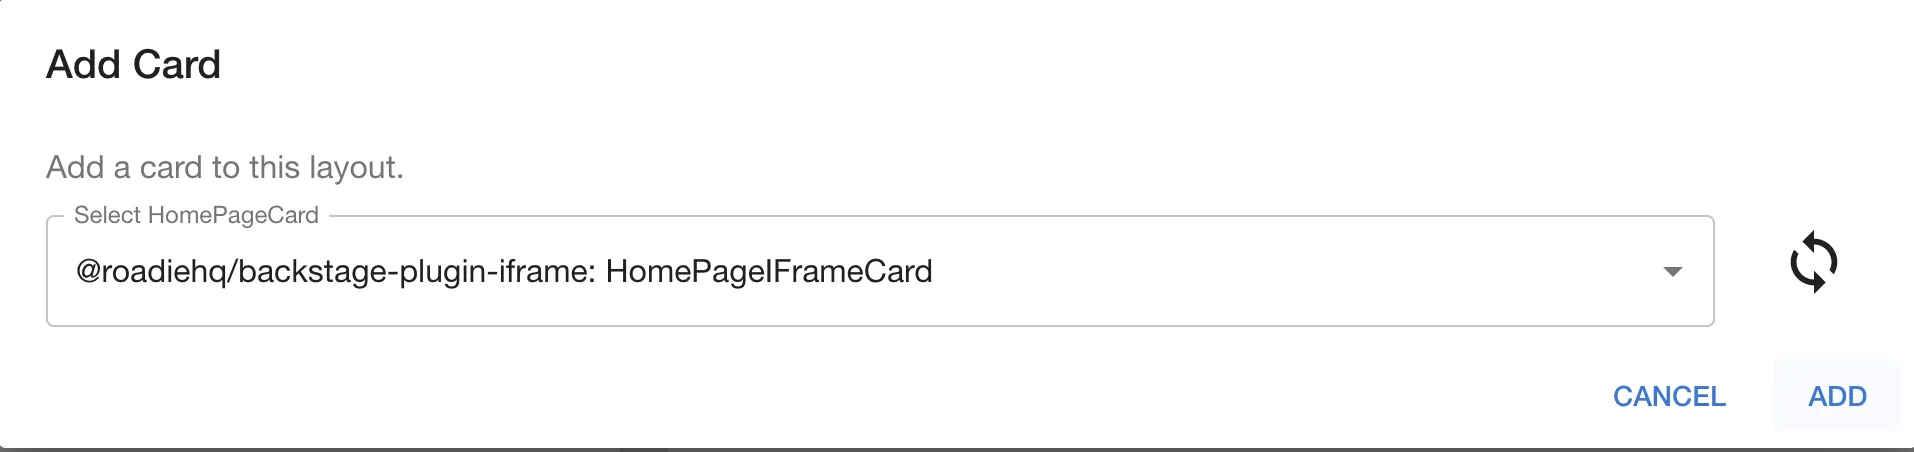
Click add
You should now see a card like this:

This can be configured with this section.
Configure Iframe Homepage props
Now configure the props of the plugin to display the correct url for your Iframe.
- Click on the
wrenchicon to edit the props of the component (see image below).

Then enter the following props.
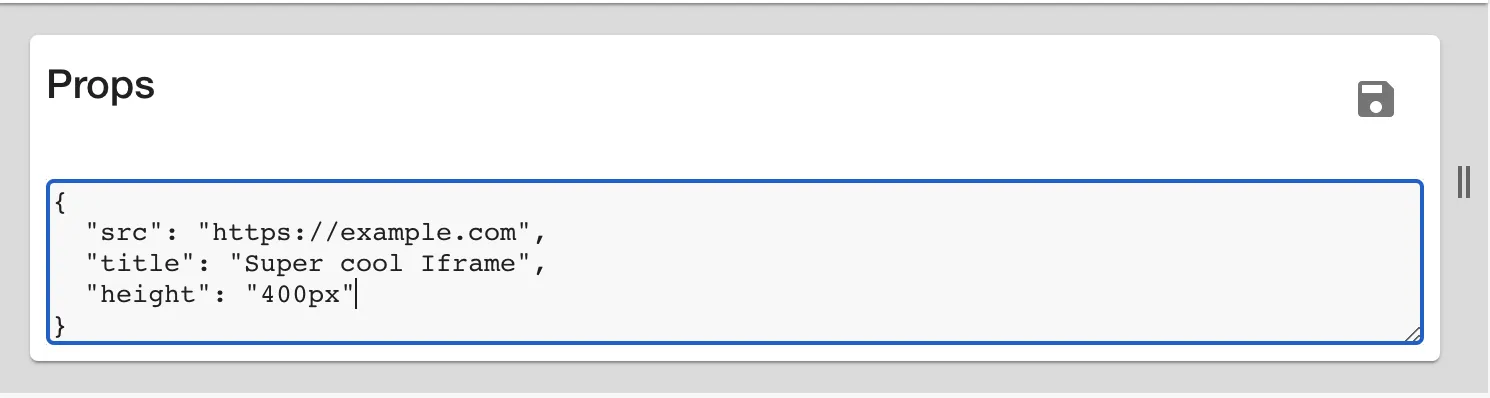
{
  "src": "<your src>",
  "title": "<card title>"
}
srcis url location of the iframe (without this, it will render text)titlethe title you want to associate the iframe with (optional)heightthe height of the iframe tag (optional)widththe wifth of the iframe tag(optional)
- Click Save
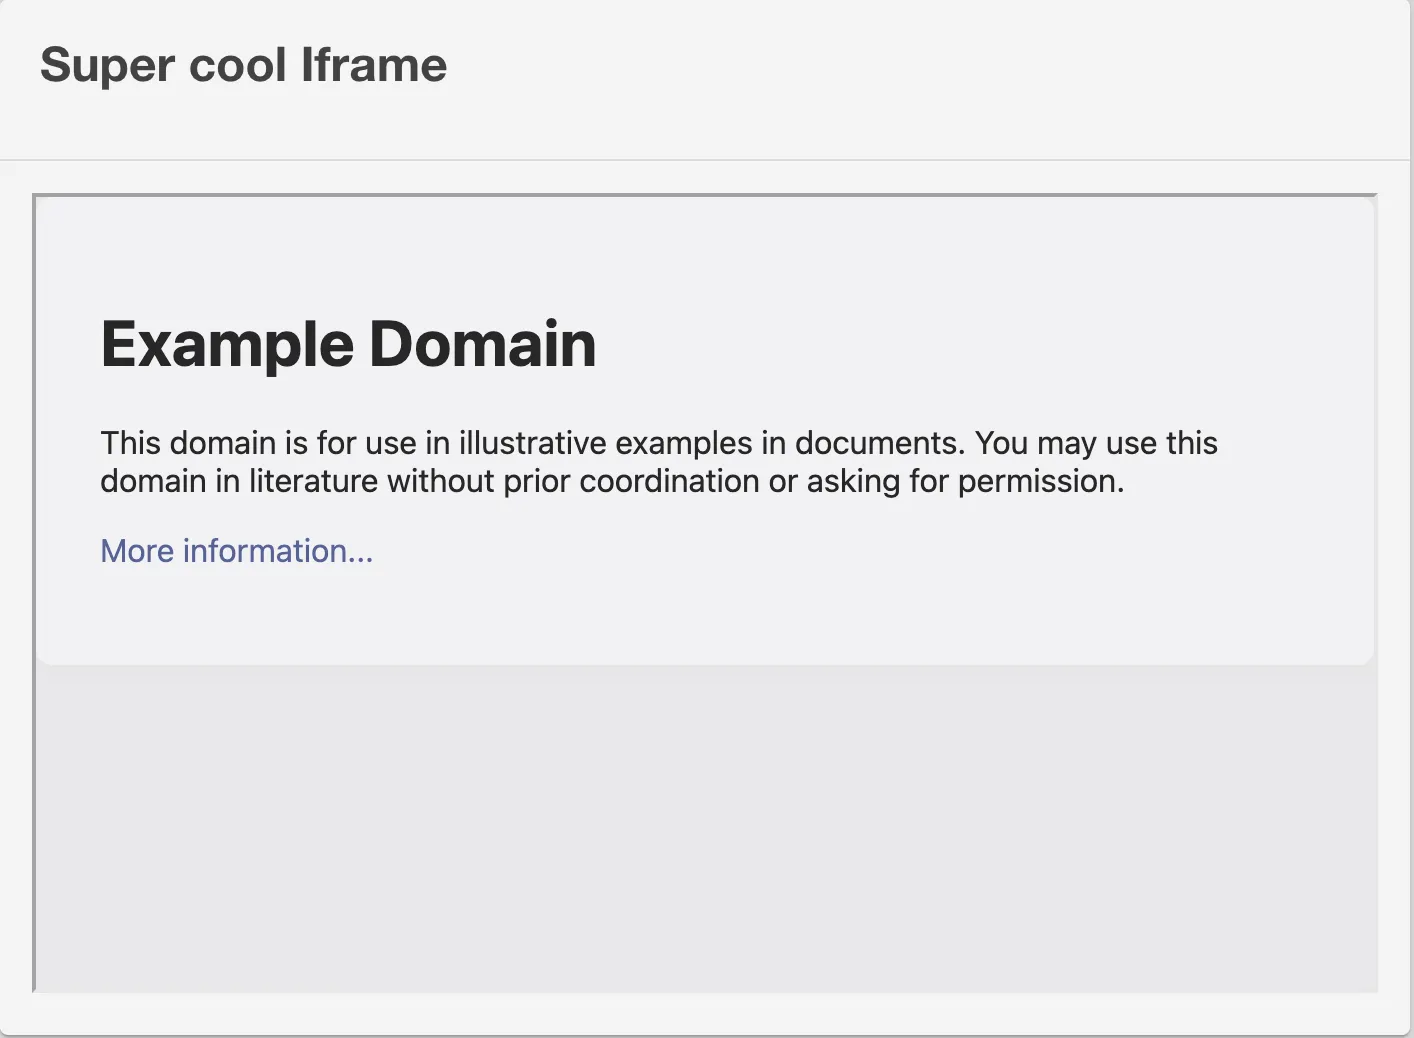
Now it should load and render the iframe card as per your specifications.
Based on what you enter, the card should now look similar to this.
Add IFrame card to your Component
-
In Roadie, find and select the service via the Component Catalog or Search. Once you are there, please click the cog item.

-
Click the plus sign to add a new Card.

-
Select
EntityIFrameCardfrom the list.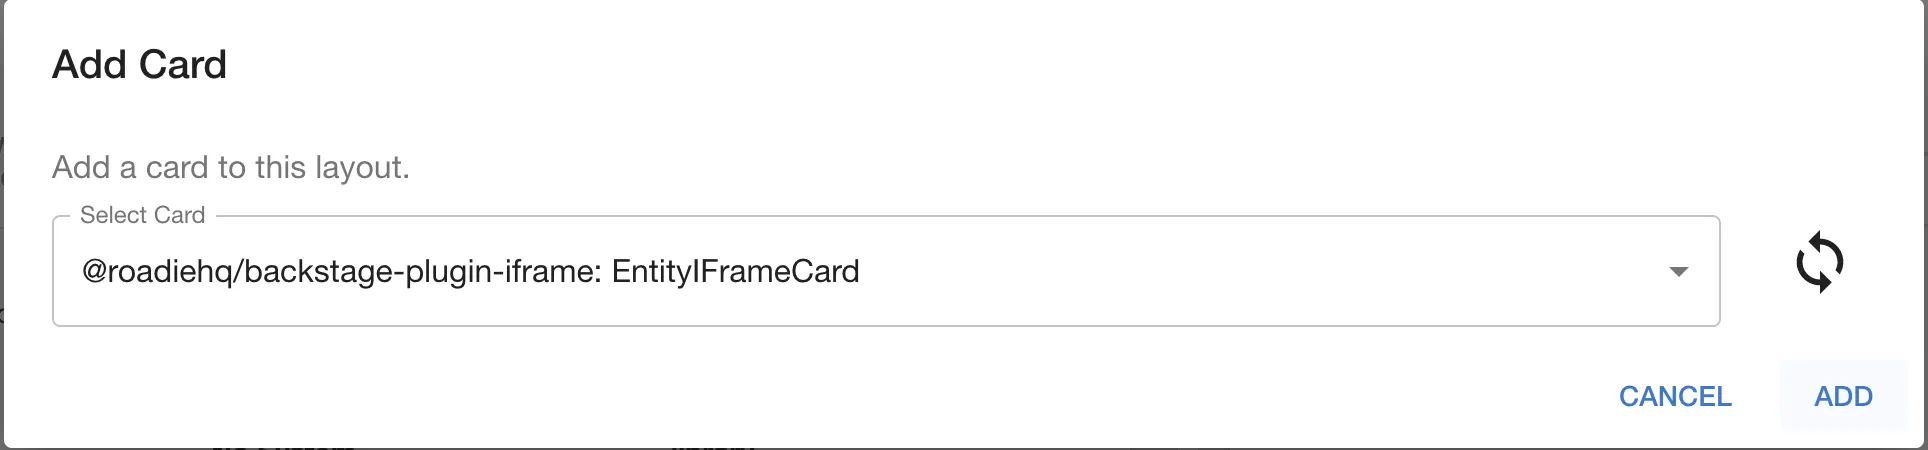
Click add.
You should now see a card like this:
It works in the same way as the Homepage IFrame card except that it can take the option src or srcFromAnnotation.
srcis url location of the iframesrcFromAnnotationis a refernce to an entity annotation containing a source url for the iframe.
Add IFrame Page as a link to your sidebar
-
In Roadie, click the 'Edit Sidebar' link in the sidebar
-
Click the plus sign to add a new Page.
-
Select
IFramePagefrom the list. -
Define your link title, URL and select the icon you want to use
-
Set up props like shown below
Click add.
It works in the same way as the Homepage IFrame card except the props it expects are divided into props for the page, and props for the iframe itself.
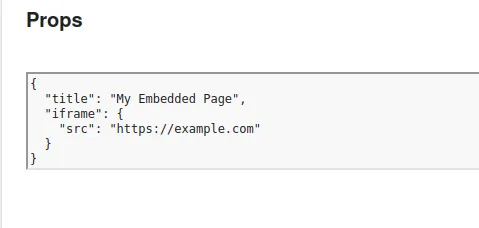
Top level "title" prop defines the title of the page itself. Props encapsulated into an "iframe" object define properties for the iframe. Possible options are
src, requiredheight, optional. Either pixels or percentages (800px/100%). Defaults to 100%width, optional. Either pixels or percentages (800px/100%). Defaults to 100%title, optional.
Note
Authentication
This plugin does not support authenticated methods. You can alternatively embed credentials in the url like so
https://username:password@yourdomain.com
CSP
Content Security Policy (CSP) is a layer of security added to web applications to avoid certain attacks like Cross site scripting (XSS). This is done by returning a header Content-Security-Policy on the server side. It restricts the access to the WebApp by adding a policy. This policy is then validated on the browser to ensure that no malicious attacks can occur on the domain.
Since this is controlled by the WebPage Admins, it may happen that you are unable to load the content you wish in your IFrame. This is a limitation of this plugin.
For more information on this plugin, please visit here .