
We've been onboarding an increased number of awesome engineering organisations to our SaaS Backstage platform recently, and one question comes up again and again... "Does Backstage support monorepos?"
The good news is that Backstage does support monorepos. In fact, there are multiple different ways to represent monorepos in Backstage, each with its own setup, benefits and drawbacks. This post will teach you everything you need to know to get your monorepo code loaded and represented the way you want.
This post will be applicable whether you're using the Roadie hosted Backstage platform or self-hosted Backstage.
Huge thanks to Enrique Amodeo Rubio, Staff Engineer at Contentful (linkedin ). He did a lot of the hard work of testing the various monorepo representations in Backstage, and was kind enough to share some tips with us. These tips formed the basis of this guide.
Combined vs Split monorepo representations
There are two approaches to treating monorepos in Backstage. Combined and Split monorepos.
Combined monorepos
Combined monorepos present as a single entity in Backstage. When you look at your Backstage catalog, you'll see one row to represent the monorepo, regardless of the number of sub-components contained within.
It will only have one Backstage metadata file and one set of TechDocs which describe the entire monorepo.

Split monorepos
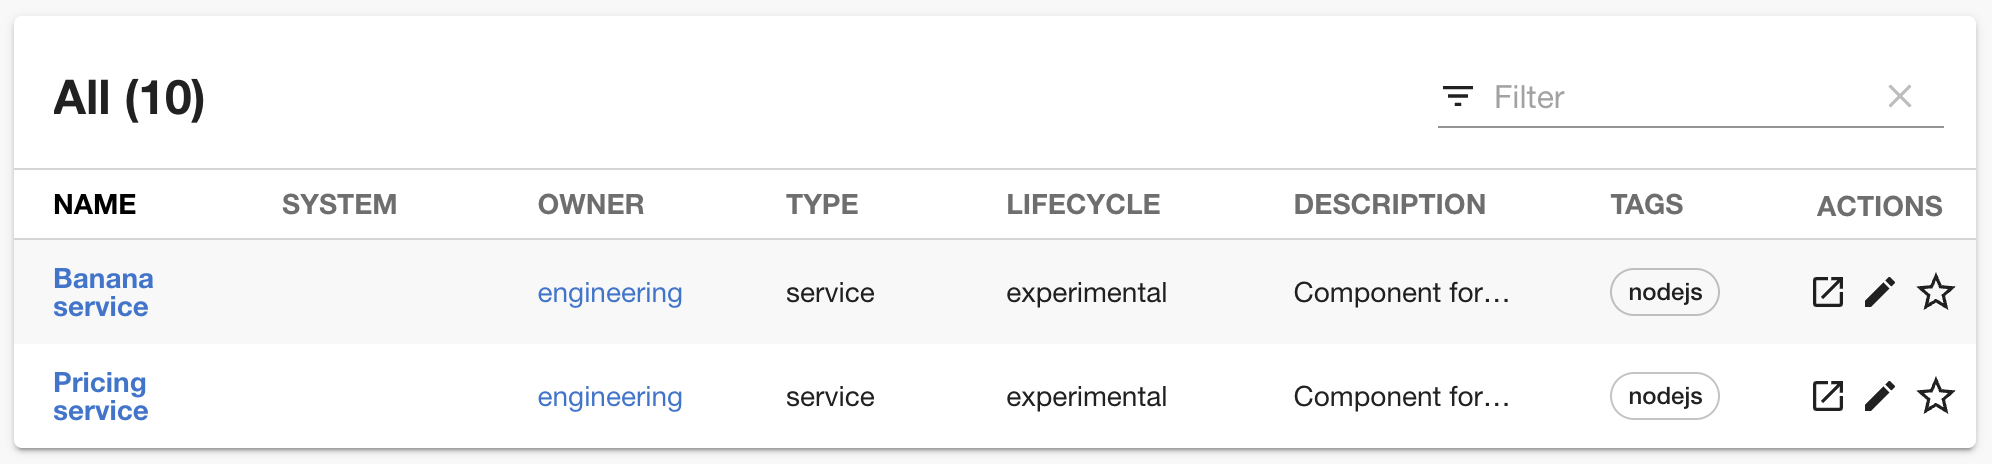
Split monorepos treat each component of the monorepo as an individual Backstage entity. A split monorepo will have multiple associated catalog entries, one for each sub-component within the monorepo. It will contain many Backstage metadata files and many sets of TechDocs.
Which option should I use?
Combined monorepos make sense when the entire monorepo is owned by a single team. The Backstage project itself is perhaps a good example of this. It's a relatively large monorepo but it's owned by a single team of maintainers.
The combined monorepo has a single place in Backstage to find the documentation for all of the sub-components. if the components are tightly coupled or frequently used together, this approach might make it easier to browse all of the docs at once.
Split monorepos make sense when different components within the monorepo are owned by different teams. For example, a monorepo which co-locates many different backend services which expose different HTTP APIs and are owned by different teams within a company.
Split monorepos also make more sense when each component in the monorepo exposes its own HTTP API spec.
Summary
- Use combined monorepos when the monorepo contains tightly coupled components, all which expose one or zero HTTP APIs, and are owned by a single team.
- Use split monorepos when the monorepo contains loosely coupled components which each have their own HTTP API and their own owners.
Setting up your YAML files
Combined monorepo setup
The combined monorepo representation is easier to set up in Backstage because it requires less YAML configuration.
Simply create a top level catalog-info.yaml file, of the Component kind, in the root of the monorepo. Name it after the monorepo.
---
apiVersion: backstage.io/v1alpha1
kind: Component
metadata:
  name: combined-monorepo
  description: All our components represented as a monorepo
  annotations:
    github.com/project-slug: RoadieHQ/sample-combined-monorepo
spec:
  type: service
  owner: engineering
  lifecycle: production
Here's a public GitHub repository which demonstrates this setup.
Split monorepo setup
The split monorepo setup uses a single metadata file with the Location kind in the root of the monorepo, and many metadata files with Component kind in the subdirectories. The Location acts as a pointer to each of the components in the sub-directories, insuring they can be managed from a single location.
Assuming we have a monorepo structure something like this:
.
└── services
    ├── banana-service
    │   └── src
    └── pricing-service
        └── src
Then we would create one metadata file for each component and co-locate it with the component code. In this example they are called backstage.yaml files.
.
└── services
    ├── banana-service
    │   ├── backstage.yaml
    │   └── src
    └── pricing-service
        ├── backstage.yaml
        └── src
Then we would create a metadata file containing a Location at the root of the repo:
---
apiVersion: backstage.io/v1alpha1
kind: Location
metadata:
  name: split-monorepo
spec:
  type: url
  targets:
    - ./services/pricing-service/backstage.yaml
    - ./services/banana-service/backstage.yaml
Using this setup, each team can independently manage their own backstage.yaml files and individual components can be added or removed from the Backstage catalog simply by updating the catalog-info.yaml file in the root of the monorepo.
Here's an example of a monorepo set up with the split monorepo representation .
Using TechDocs in monorepos
TechDocs is used slightly differently in each of the two possible representations, and the results can be quite different.
Combined monorepo representation
The combined monorepo representation makes use of the mkdocs-monorepo-plugin created by Spotify. This plugin supports having multiple sets of MkDocs TechDocs within one monorepo.
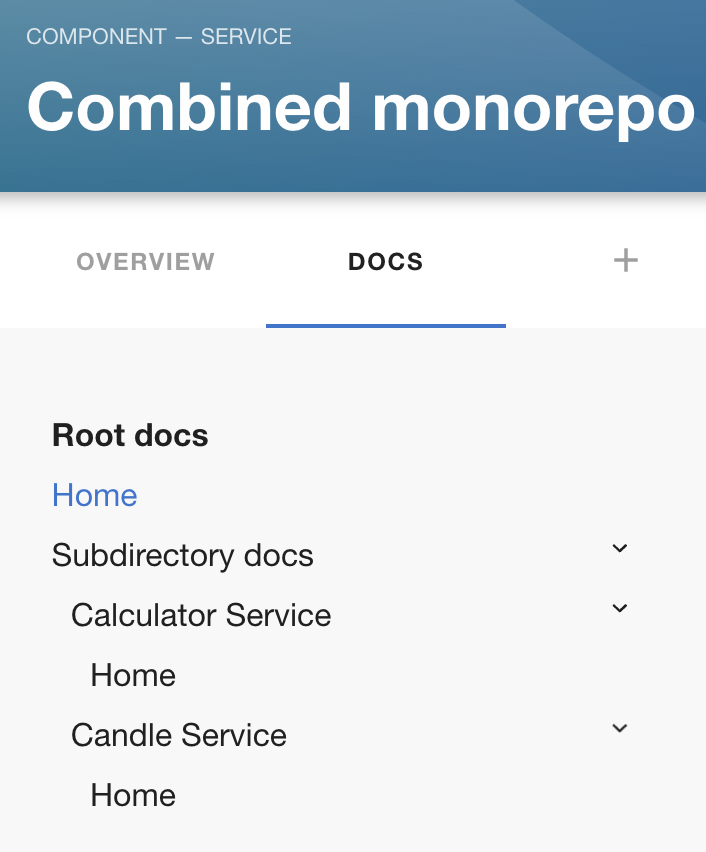
Within Backstage, the TechDocs automatically render with a nested sidebar so the reader can browse through the documentation for each component in one place. Here we can see two services, the calculator and candle service, represented in the documentation of the Combined monorepo.
To set up TechDocs in the combined monorepo fashion, create a docs directory and mkdocs.yml file in the sub-directory of each component.
├── services
    ├── calculator-service
    │   ├── docs
    │   ├── mkdocs.yml
    │   └── src
    └── candle-service
        ├── docs
        ├── mkdocs.yml
        └── src
The markdown documentation files live in each docs directory and the mkdocs.yml file points to them as normal.
# Note: Whitespace is not currently supported in this site_name
site_name: calculator-service

nav:
  - Home: index.md

plugins:
  - techdocs-core
To create the nested sidebar effect, create one more mkdocs.yml file in the root of the monorepo, at the same level as the catalog-info.yaml.
In it, include the monorepo plugin and use the !include directive to pull in each of the mkdocs.yml files in the sub-directories.
As a bonus, you can also reference mardown files in a docs directory at the root of your monorepo, as we are doing below. These root level might be a good place to talk about the nature of the monorepo and the components contained within.
site_name: Root docs

nav:
  - Home: index.md
  - Subdirectory docs:
    - Calculator Service: '!include ./services/calculator-service/mkdocs.yml'
    - Candle Service: '!include ./services/candle-service/mkdocs.yml'

plugins:
  - monorepo
  - techdocs-core
Lastly, add the techdocs-ref annotation to the catalog-info.yaml file in the monorepo.
---
apiVersion: backstage.io/v1alpha1
kind: Component
metadata:
  name: combined-monorepo
  description: A combined monorepo
  annotations:
    # ..
    backstage.io/techdocs-ref: dir:.
spec:
  type: service
  owner: engineering
  lifecycle: experimental
Split monorepo representation
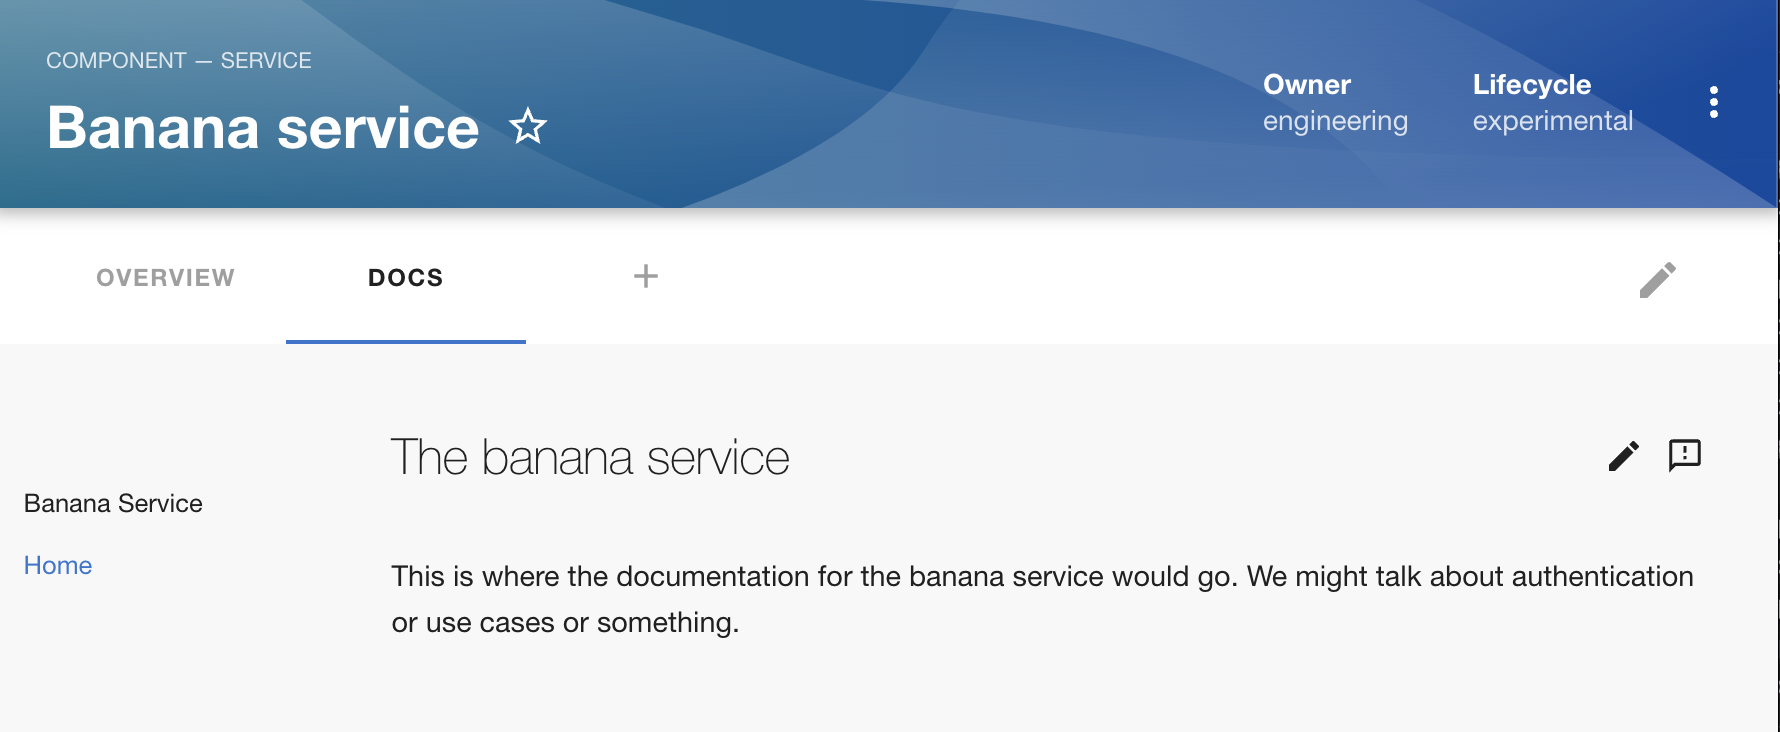
As we saw in the introduction, the split monorepo representation results in each monorepo component having its own entity in Backstage. As you can imagine, each component gets its own set of TechDocs, just like a non-monorepo component would.
To set up docs in the split monorepo fashion, simply create an mkdocs.yml file and docs directory in the sub-directory of each component.
.
└── services
    ├── banana-service
    │   ├── backstage.yaml
    │   ├── mkdocs.yml
    │   ├── docs
    │   └── src
    └── pricing-service
        ├── backstage.yaml
        ├── mkdocs.yml
        ├── docs
        └── src
The markdown documentation files live in each docs directory and the mkdocs.yml file points to them as normal.
site_name: Pricing Service

nav:
  - Home: index.md

plugins:
  - techdocs-core # required to style your docs like Backstage
Don't forget to add the techdocs-ref annotation to each backstage.yaml file.
apiVersion: backstage.io/v1alpha1
kind: Component
metadata:
  name: pricing-service
  title: Pricing service
  description: Component for Pricing service
  annotations:
    # ...
    backstage.io/techdocs-ref: dir:.
spec:
  type: service
  owner: engineering
  lifecycle: production
Conclusion
Whether you end up using the combined or split monorepo representation, Backstage can certainly support your needs.
Have you got other tips for using monorepos with Backstage? We'd love to mention them here and credit you. Please email [email protected] with your ideas.