Set up Backstage in minutes with Roadie
Focus on using Backstage, rather than building and maintaining it.

Installation steps
This plugin is already added when using npx @backstage/create-app
so you can usually skip these steps. However, if you are not using create-app
you can follow the steps below.
yarn add @backstage/plugin-api-docsAdd the ApiExplorerPage extension to the app:
// In packages/app/src/App.tsx
import { ApiExplorerPage } from '@backstage/plugin-api-docs';
<Route path="/api-docs" element={<ApiExplorerPage />} />;
Add one of the provided widgets to the EntityPage:
// packages/app/src/components/catalog/EntityPage.tsx

import {
  EntityAboutCard,
  EntityApiDefinitionCard,
  EntityConsumingComponentsCard,
  EntityProvidingComponentsCard,
} from '@backstage/plugin-api-docs';


const apiPage = (
  <EntityLayout>
    ...
    <EntityLayout.Route path="/" title="Overview">
      <Grid container spacing={3}>
        <Grid item md={6}>
          <EntityAboutCard />
        </Grid>
        <Grid container item md={12}>
          <Grid item md={6}>
            <EntityProvidingComponentsCard />
          </Grid>
          <Grid item md={6}>
            <EntityConsumingComponentsCard />
          </Grid>
        </Grid>
      </Grid>
    </EntityLayout.Route>
    <EntityLayout.Route path="/definition" title="Definition">
      <Grid container spacing={3}>
        <Grid item xs={12}>
          <EntityApiDefinitionCard />
        </Grid>
      </Grid>
    </EntityLayout.Route>
  </EntityLayout>
);

// ...

export const entityPage = (
  <EntitySwitch>
    // ...
    <EntitySwitch.Case if={isKind('api')} children={apiPage} />
    // ...
  </EntitySwitch>
);
There are other components to discover in ./src/components that are also added by the default app.
Found a mistake? Update these instructions.
Things to know
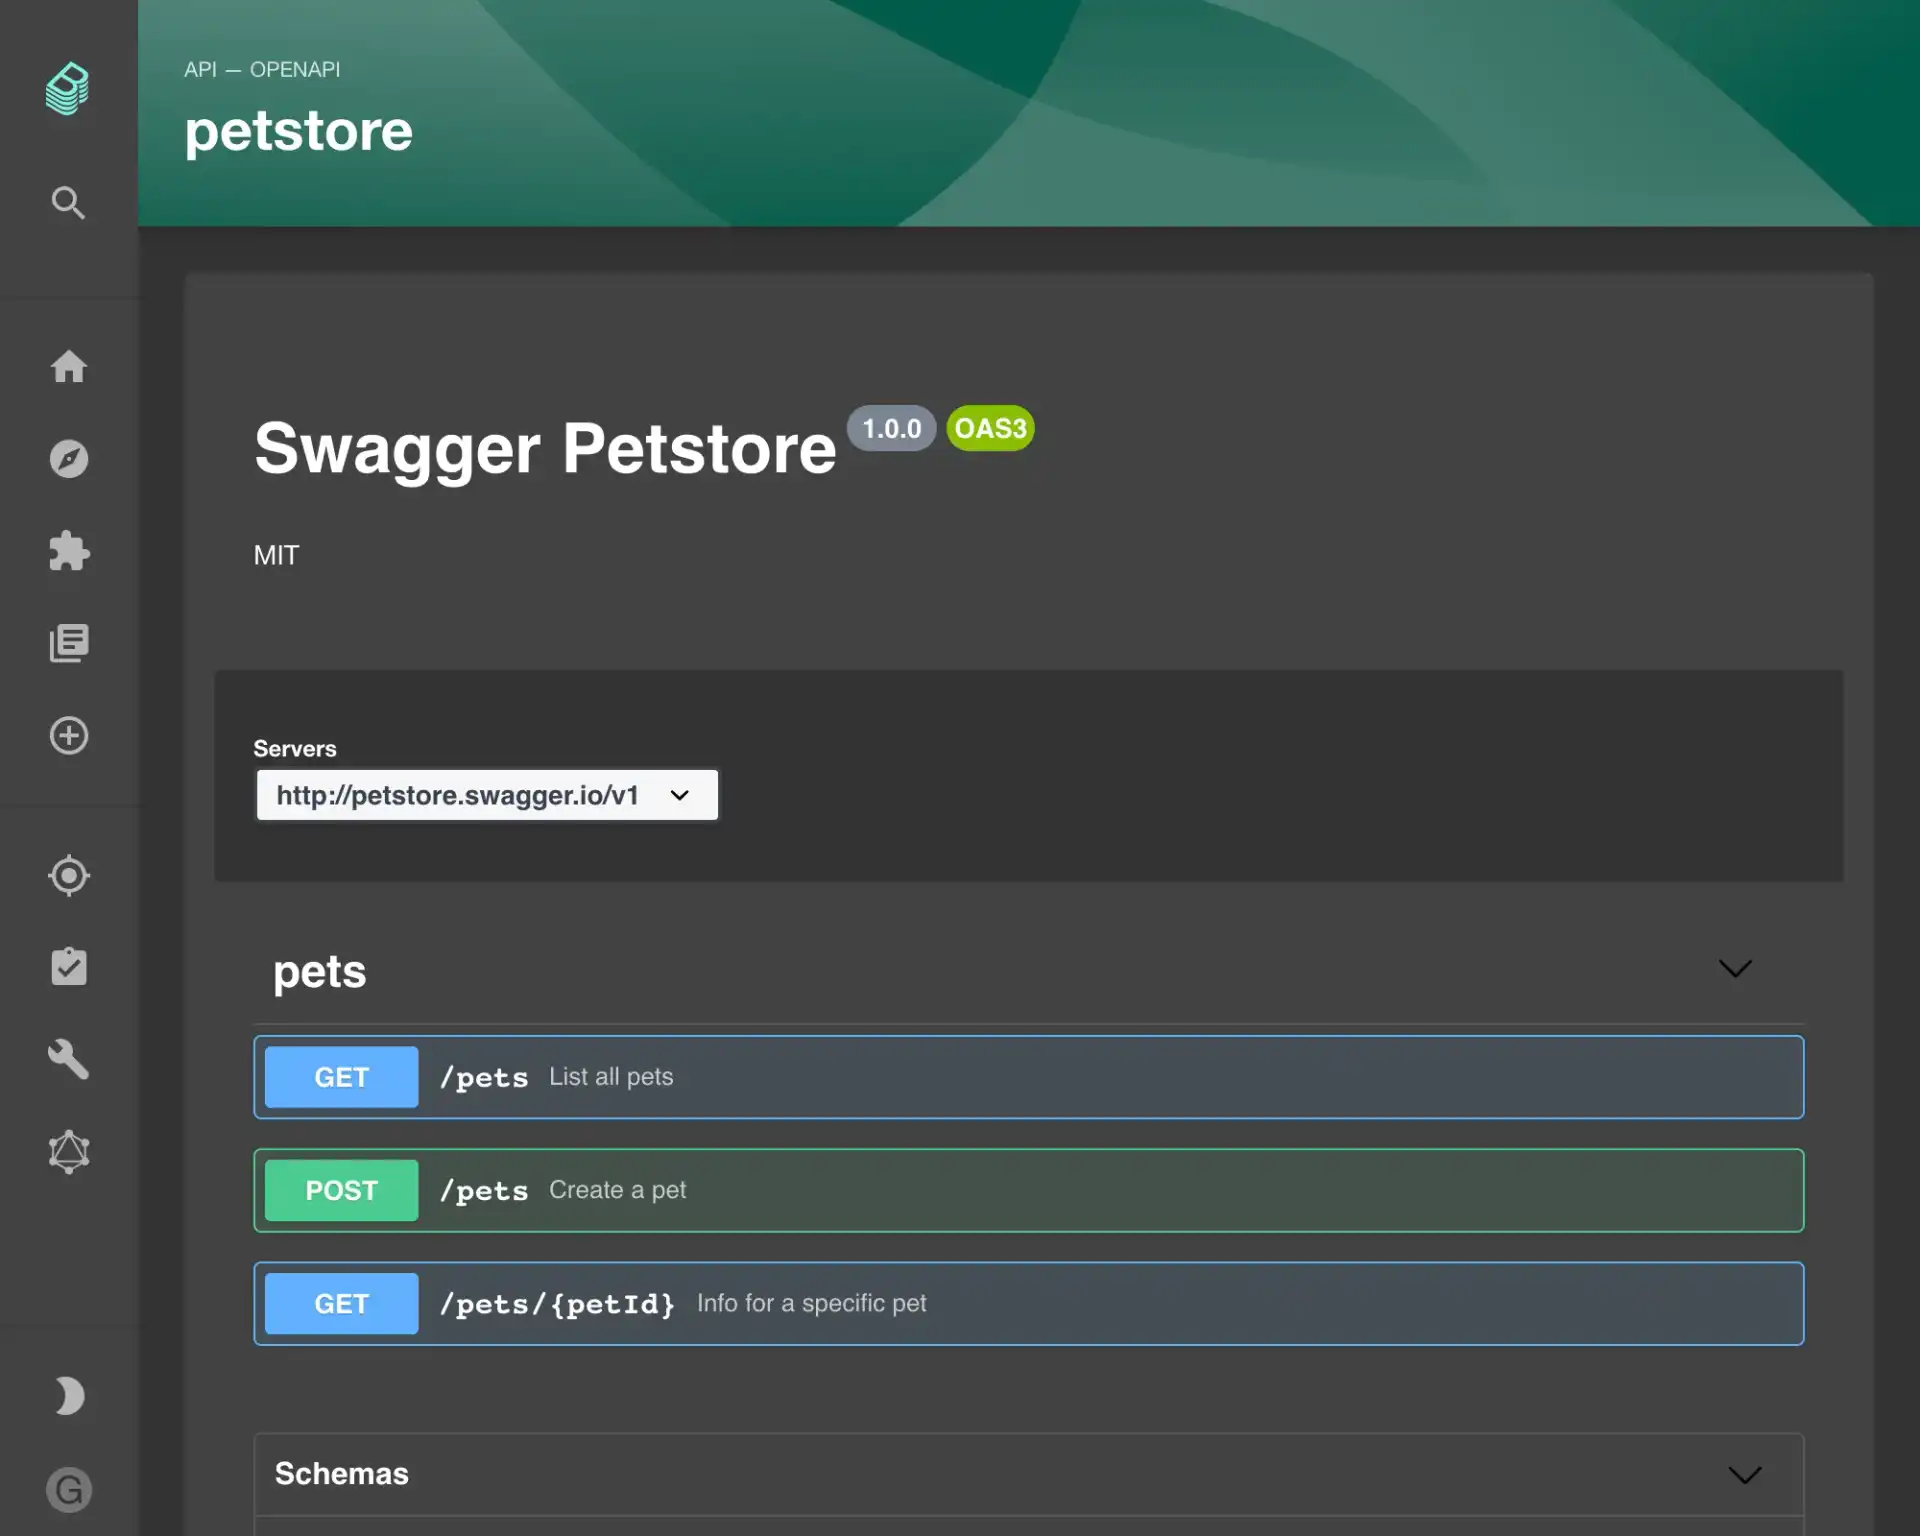
API formats supported right now:
- AsyncAPI
- GraphQL
- OpenAPI 2 & 3
All other formats are displayed as plain text right now, but it could be easily extended.
Set up Backstage in minutes with Roadie
Focus on using Backstage, rather than building and maintaining it.
