Managing locations and autodiscovery
Published on May 23rd, 2021Introduction
The Backstage catalog uses location entities to point to external sources which define entities. Roadie will update your entities in Backstage whenever one of the repositories defined in a location is updated.
Autodiscovery is the mechanism to define patterns pointing to filenames in URLs that should be queried for entity files.
For more information about locations and troubleshooting Catalog ingestion issues you can take a look at the catalog troubleshooting documentation
Setting up autodiscovery
Roadie supports autodiscovery for integrations configured in the application. The configuration of an autodiscovery entry can be done at the same time as integration is configured to start automatic polling of entities.
To find configuration options for each supported autodiscovery target, navigate to:
https://<tenant-name>.roadie.so/administration/settings/
GitHub Autodiscovery and Organization Autodiscovery
GitHub integration for Roadie provides two autodiscovery targets, entities and teams/groups.
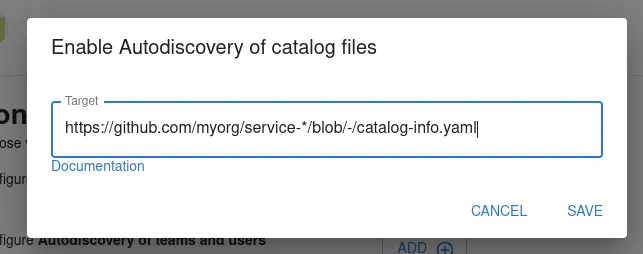
The GitHub autodiscovery integration can be configured to automatically discover catalog entities from a provided configured path pointing to GitHub.
More information about possible patterns and examples of URLs can be found from the Backstage GitHub Discovery documentation.
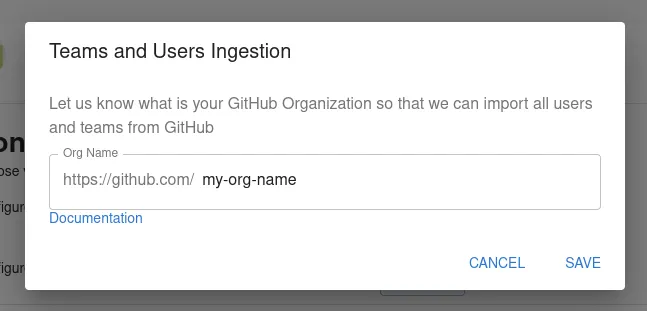
The GitHub organization integration provides the possibility to automatically import GitHub users and teams/groups from an organization. You can configure this discovery type by providing the name of the GitHub organization. Note that the GitHub app needs to be installed for that organization and needs to have permissions to access user info.
AWS S3 Autodiscovery
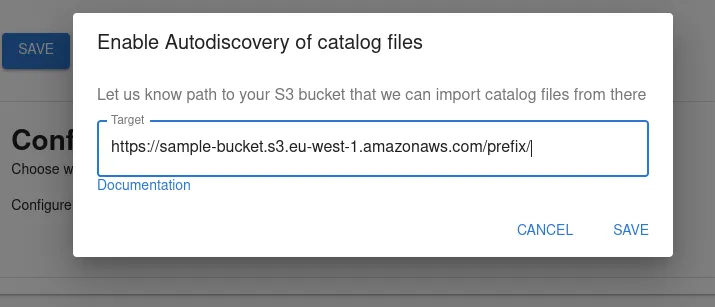
AWS S3 autodiscovery can be configured to download catalog files from an S3 bucket. For this to be functionality the integration configuration for AWS S3 must be done. S3 autodiscovery does not support wildcard path, it must point to a specific prefix of an S3 bucket.
Azure DevOps
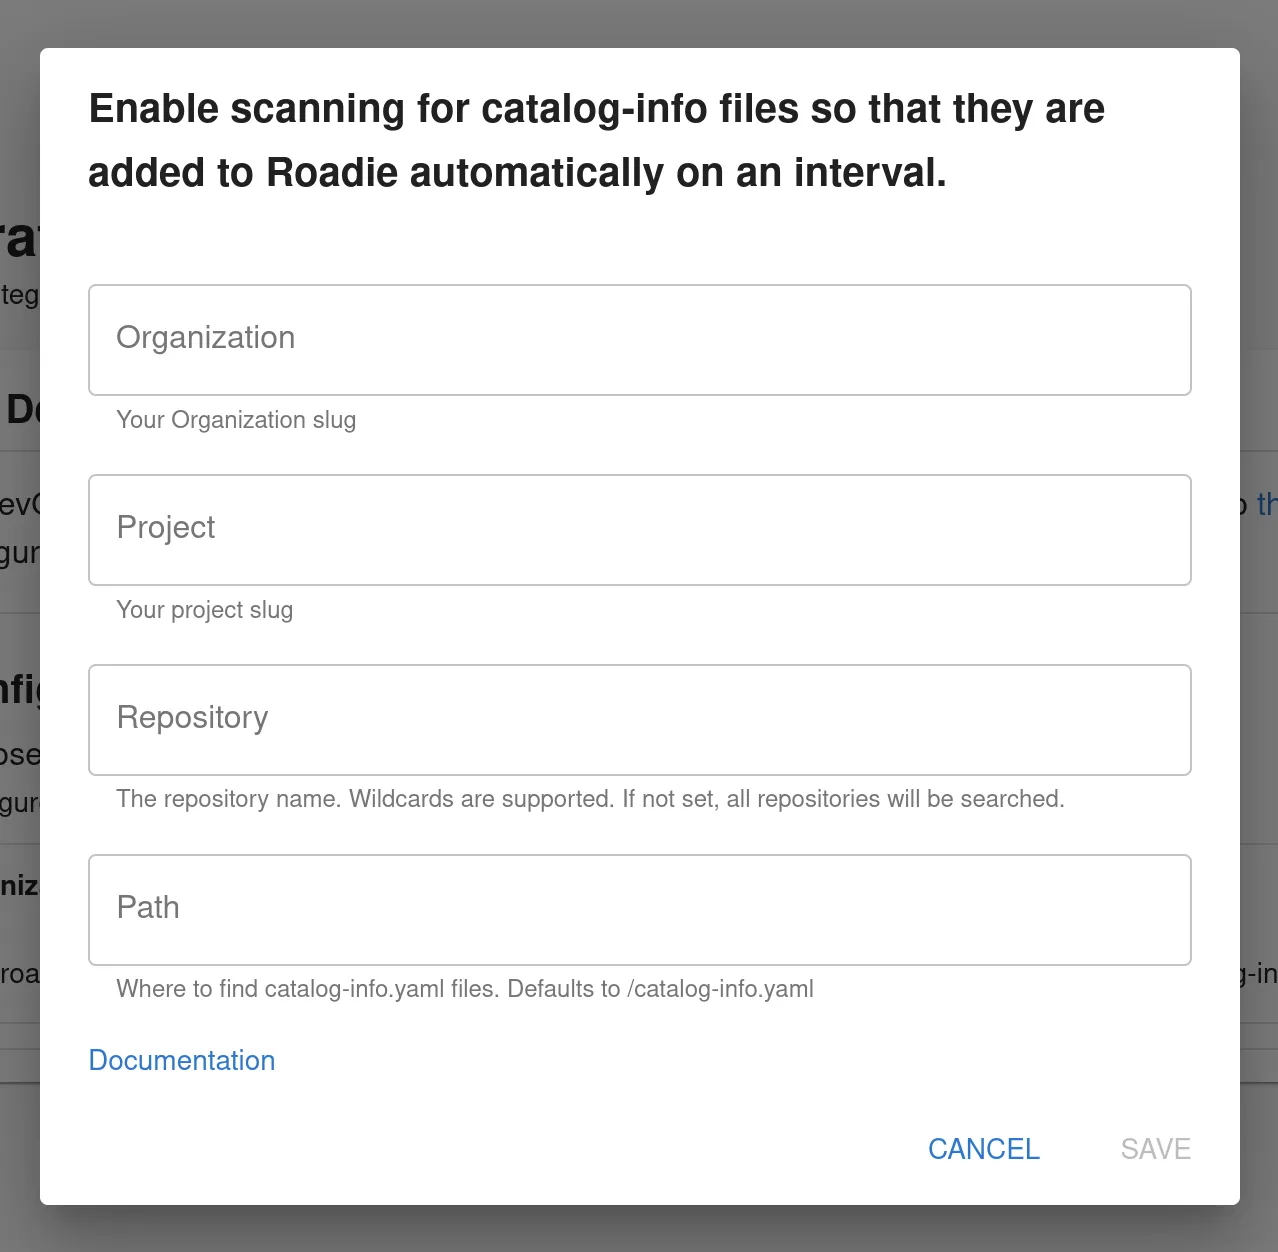
Azure DevOps autodiscovery can be configured to download catalog files from Azure DevOps SCM. For this to be functionality the integration configuration for Azure Devops must be done.
Bitbucket Autodiscovery
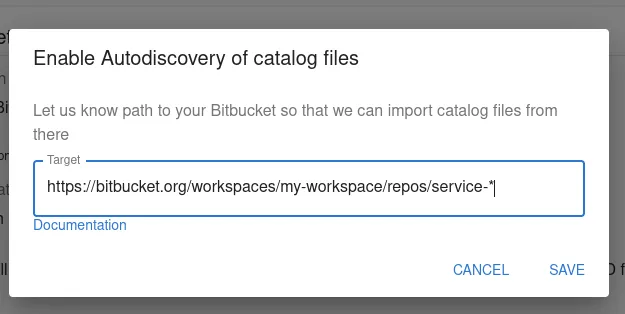
Bitbucket autodiscovery works similarly to GitHub discovery. It can be configured to use glob patterns to find individual files with a specific file name pattern. To get a working autodiscovery with Bitbucket, a configuration of Bitbucket Integration must be defined. Documentation on how to set up the integration can be found from here .
Roadie currently uses BitbucketDiscoveryProcessor for Bitbucket discovery. This expects the autodiscovery information encoded in a url. The following describes the url format for Bitbucket Cloud (reproduced from Backstage.io):
-
The base URL for Bitbucket:
arduinohttps://bitbucket.org -
The workspace name to scan (following the
workspaces/path part), which must match a workspace accessible with the username of your integration. -
(Optional) The project key to scan (following the
projects/path part), which accepts * wildcard tokens. If omitted, repositories from all projects in the workspace are included. -
(Optional) The repository blob to scan (following the
repos/path part), which accepts * wildcard tokens. If omitted, all repositories in the workspace are included. -
(Optional) The
catalogPathquery argument to specify the location within each repository to find the catalog YAML file. This will usually be/catalog-info.yamlor a similar variation for catalog files stored in the root directory of each repository. If omitted, the default valuecatalog-info.yamlwill be used. -
(Optional) The
qquery argument to be passed through to Bitbucket for filtering results via the API. This is the most flexible option and will reduce the amount of API calls if you have a large workspace. See here for the specification for the query argument (will be passed as theqquery parameter). -
(Optional) The
search=truequery argument to activate the mode utilizing code search.-
search=trueis mutually exclusive to theqquery argument. -
Allows providing values at
catalogPathfor finding catalog files as allowed by thepathfilter/modifier at Bitbucket Cloud's code search . Some examples:plaincatalogPath=/catalog-info.yaml catalogPath=catalog-info.yaml # (anywhere in the repository) catalogPath=/path/catalog-info.yaml catalogPath=path/catalog-info.yaml catalogPath=/path/*/catalog-info.yaml catalogPath=path/*/catalog-info.yaml -
Supports multiple catalog files per repository depending on the
catalogPathvalue. -
Registers
Locationentities for existing files only vs all matching repositories.
-
Examples:
# Find all repositories in the my-project project in the my-workspace workspace.
https://bitbucket.org/workspaces/my-workspace/projects/my-project

# Find all repositories starting with service- in the my-workspace workspace.
https://bitbucket.org/workspaces/my-workspace/repos/service-*

# Find all repositories starting with service-, in all projects starting with apis- in the my-workspace workspace.
https://bitbucket.org/workspaces/my-workspace/projects/apis-*/repos/service-*

# Find all repositories in a project containing my-project in its key.
https://bitbucket.org/workspaces/my-workspace?q=project.key ~ "my-project"

# Find all repositories in the my-workspace workspace and use the catalog file at my/nested/path/catalog.yaml
https://bitbucket.org/workspaces/my-workspace?catalogPath=my/nested/path/catalog.yaml

# Find all catalog.yaml files located in the root of repositories in the workspace my-workspace.
https://bitbucket.org/workspaces/my-workspace?search=true&catalogPath=/catalog.yaml

# Find all catalog.yaml files located anywhere within repositories in the workspace my-workspace.
https://bitbucket.org/workspaces/my-workspace?search=true&catalogPath=catalog.yaml

# Find all catalog.yaml files located within the directory /my/nested/path/ within repositories in the workspace my-workspace.
https://bitbucket.org/workspaces/my-workspace?search=true&catalogPath=/my/nested/path/catalog.yaml

# Find all catalog.yaml files located within the directory my/nested/path/ located anywhere within repositories in the workspace my-workspace.
https://bitbucket.org/workspaces/my-workspace?search=true&catalogPath=my/nested/path/catalog.yaml

# Find all catalog.yaml files located within a directory path/ located within any (recursive) directory within the directory my/ in the root of repositories in the workspace my-workspace
https://bitbucket.org/workspaces/my-workspace?search=true&catalogPath=/my/*/path/catalog.yaml
The format is slightly different for Bitbucket server. The url is composed of four parts (From Backstage.io):
-
The base instance URL, in this case:
arduinohttps://bitbucket.mycompany.com -
The project key to scan, which accepts * wildcard tokens. This can simply be
*to scan repositories from all projects. This example only scans for repositories in themy-projectproject. -
The repository blob to scan, which accepts * wildcard tokens. This can simply be
*to scan all repositories in the project. This example only looks for repositories prefixed withservice-. -
The path within each repository to find the catalog YAML file. This will usually be
/catalog-info.yamlor a similar variation for catalog files stored in the root directory of each repository. If omitted, the default valuecatalog-info.yamlwill be used. E.g.Eg. given that
my-projectandservice-aexists:plainhttps://bitbucket.mycompany.com/projects/my-project/repos/service-*/will result in:
plainhttps://bitbucket.mycompany.com/projects/my-project/repos/service-a/catalog-info.yaml
GitHub Enterprise Server Autodiscovery
The GitHub autodiscovery integration can be configured to automatically discover catalog entities from a provided configured path pointing to GitHub.
GHES Broker Autodiscovery
You can also connect to your GitHub Enterprise server via the broker connection.

To enable autodiscovery of entities via the broker, you can add entries to the autodiscovery section of the settings page. Click the + sign next to "Configure GHES via the Broker" to open the input dialog to configure the GHES target URL via the broker. Within the opened dialog you can add the URL of your GitHub organization or repository directly, as it is referenced in the main configuration section. If the broker connection is configured, these URLs will be automatically translated to use the broker protocol. Note that this configuration only affects the GHES when it is configured via a broker and won't affect discovery if broker configuration is not present.
Once you have added the information about your GHES instance and organization, you can see your existing configured target URLs in the list below
 .
.
The autodiscovery kicks in shortly after the save action and automatically refreshes discovered entities periodically
Managing Locations
A list of all configured locations is located in URL:
https://<tenant-name>.roadie.so/administration/locations/management
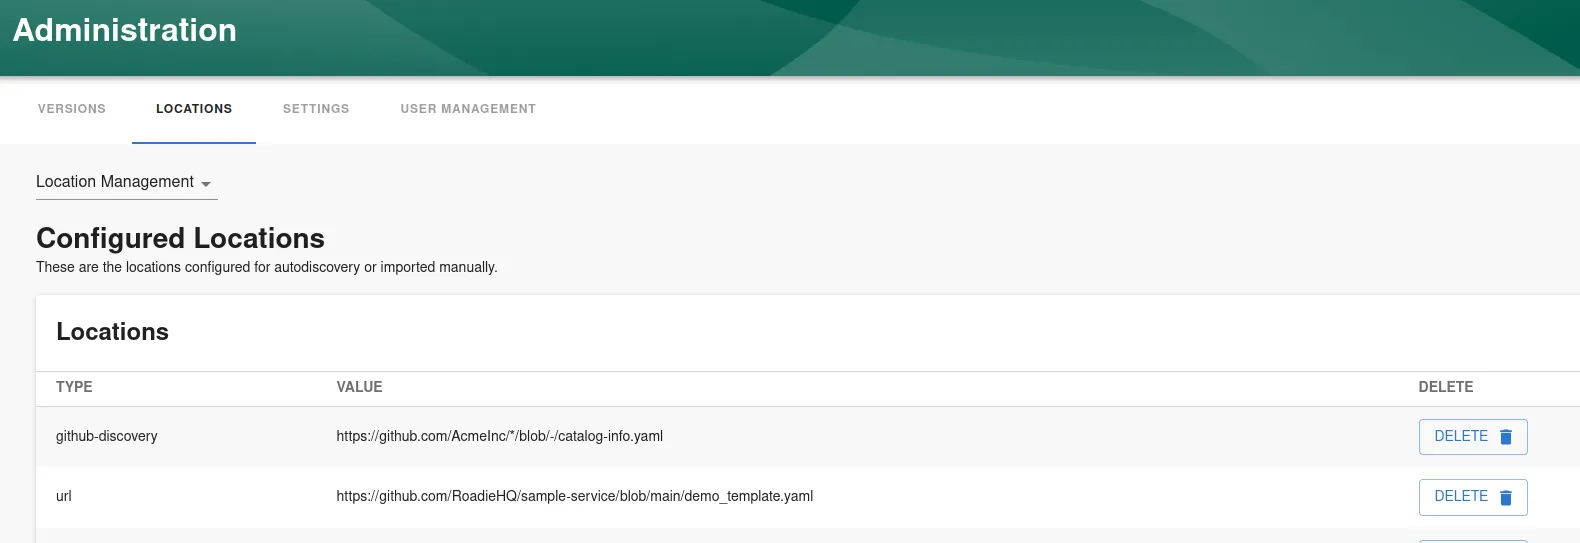
The list contains an entry for all locations added as an autodiscovery configuration within each integration, as well as locations imported using the Catalog Import functionality within
https://<tenant-name>.roadie.so/import/entity
Note that deleting a location via the administration UI (either at the location management page or at the individual integration page) does not automatically remove individual entities that have been found from that location. If the desired effect is to remove all items from a particular location, it is better to find that location via the catalog and unregister it from there.