Installing the GitHub App
Published on March 21st, 2022Introduction
This tutorial will guide you through the steps required to connect Roadie to your GitHub org. If you are configuring GitHub enterprise, please follow the steps here.
Prerequisites
If your IT department filters your outbound access by hostname, you may need to allow access to Roadie hostnames before proceeding. More information on this can be found here.
Step 1: Install the Roadie GitHub app
Installing the GitHub App will allow Roadie to access the YAML metadata files that Backstage needs to operate. Learn more about the permissions required.
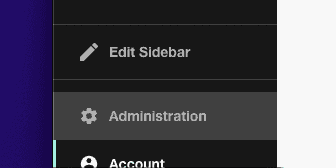
- Click the Administration link in the bottom left of the application.
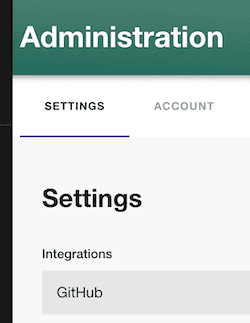
- Click the Settings tab along the top of the Administration page.
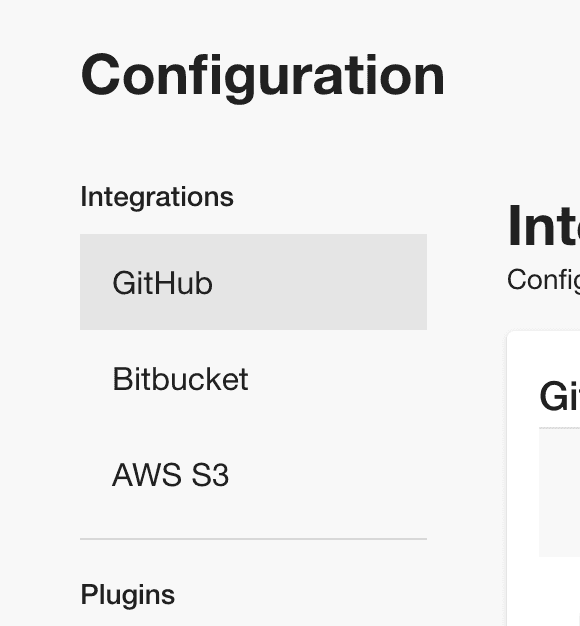
- Click on GitHub under Integrations in the left sidebar.
- Open the GitHub accordion and click “Add GitHub App”
- Choose your GitHub organization and follow the steps to install the app.
ℹ️ If you are not an owner of your GitHub organization, you will need to ask an owner to approve the App installation and then contact us to enable the App.
Roadie will automatically ingest files called: catalog-info.yaml that have been added to your repositories after the Roadie GitHub app is installed. To have more granular control (e.g. you don’t want to call them catalog-info.yaml) over what files Roadie should ingest, go to the GitHub discovery docs.
If you used Backstage before and you already have catalog-info.yaml files in your repos please go to the initial discovery docs.
Next steps
Now that a connection to GitHub is established, you can make yourself an admin on Roadie.
To load users and groups from GitHub Teams please see here.


